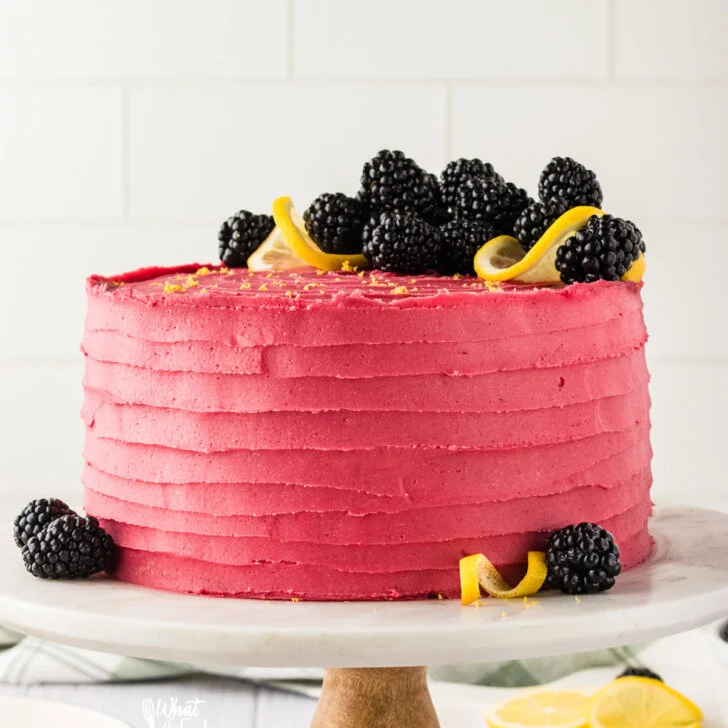
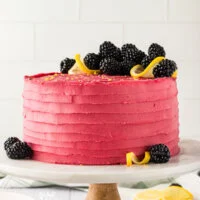
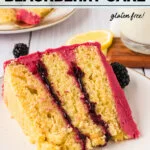
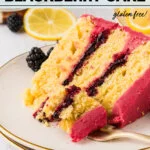
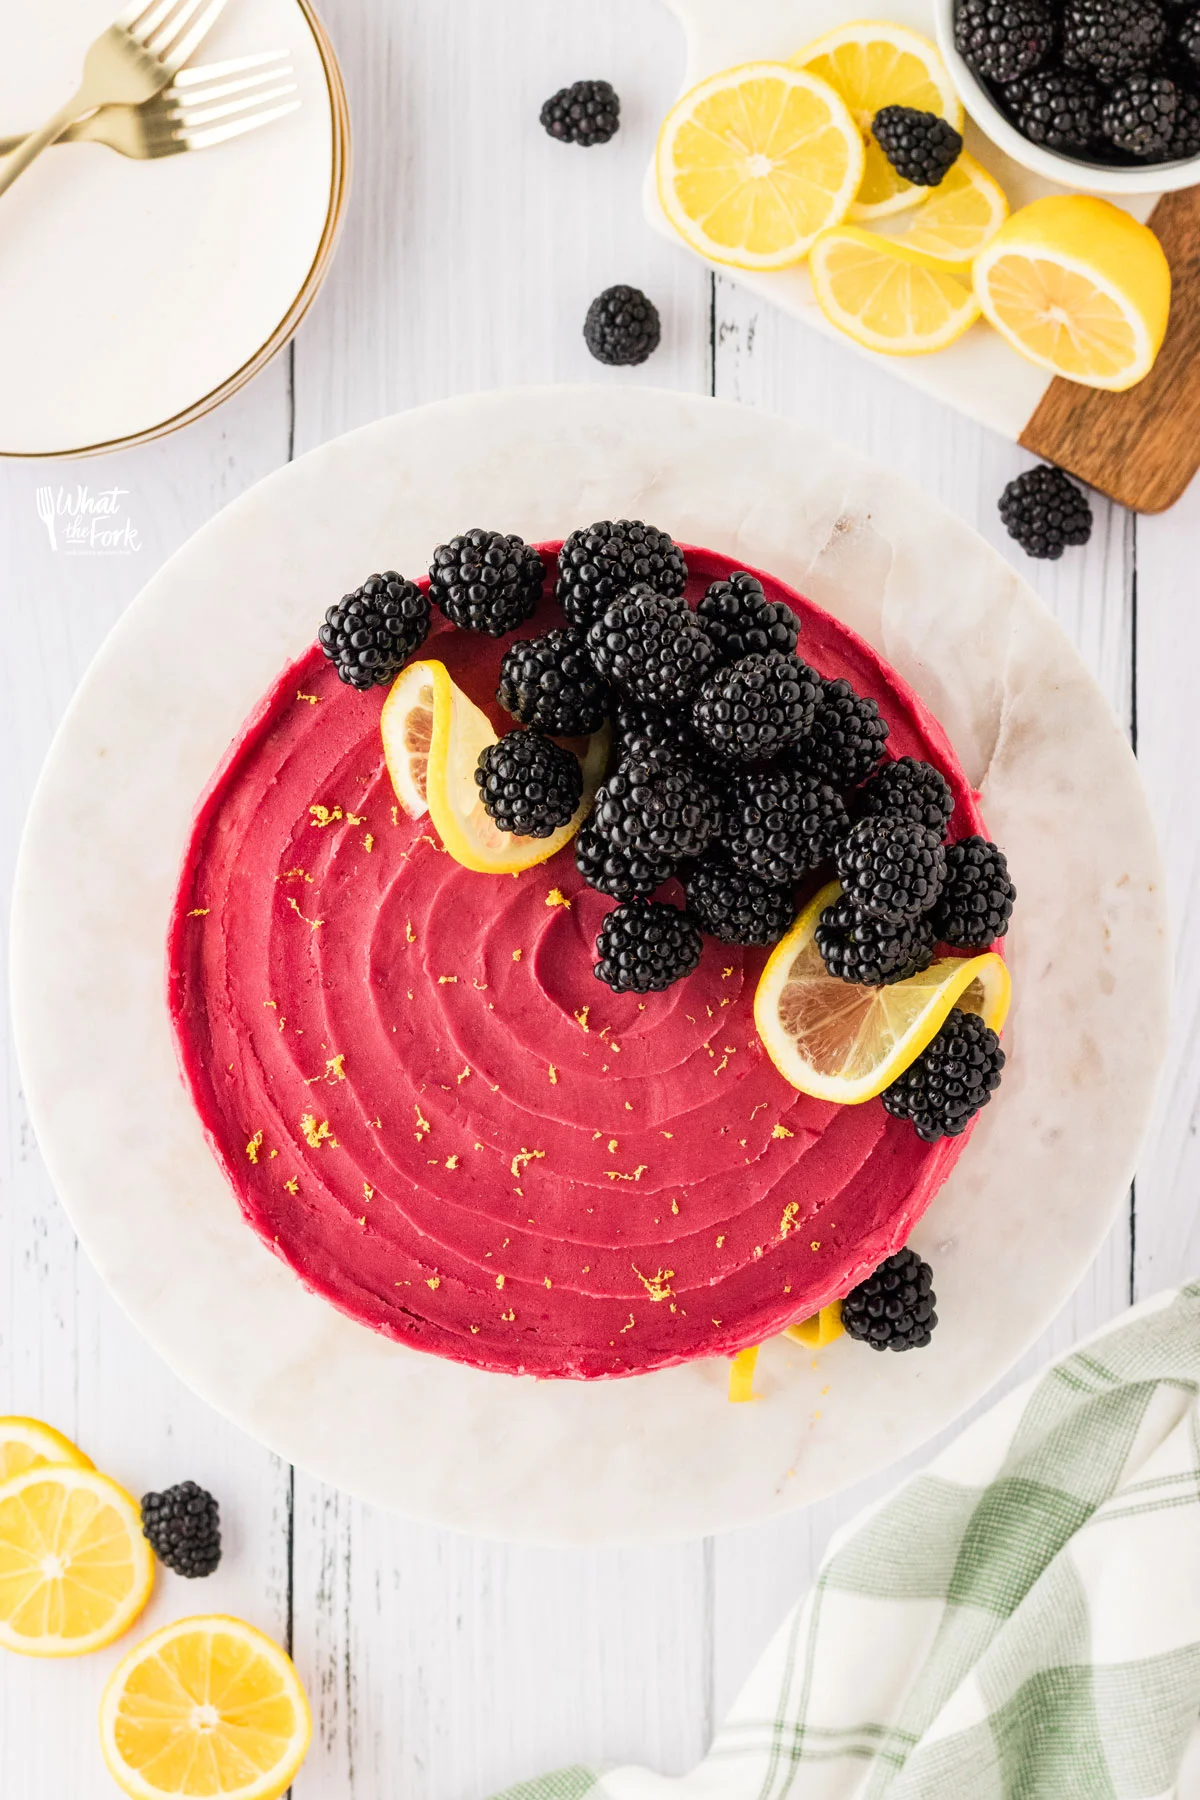
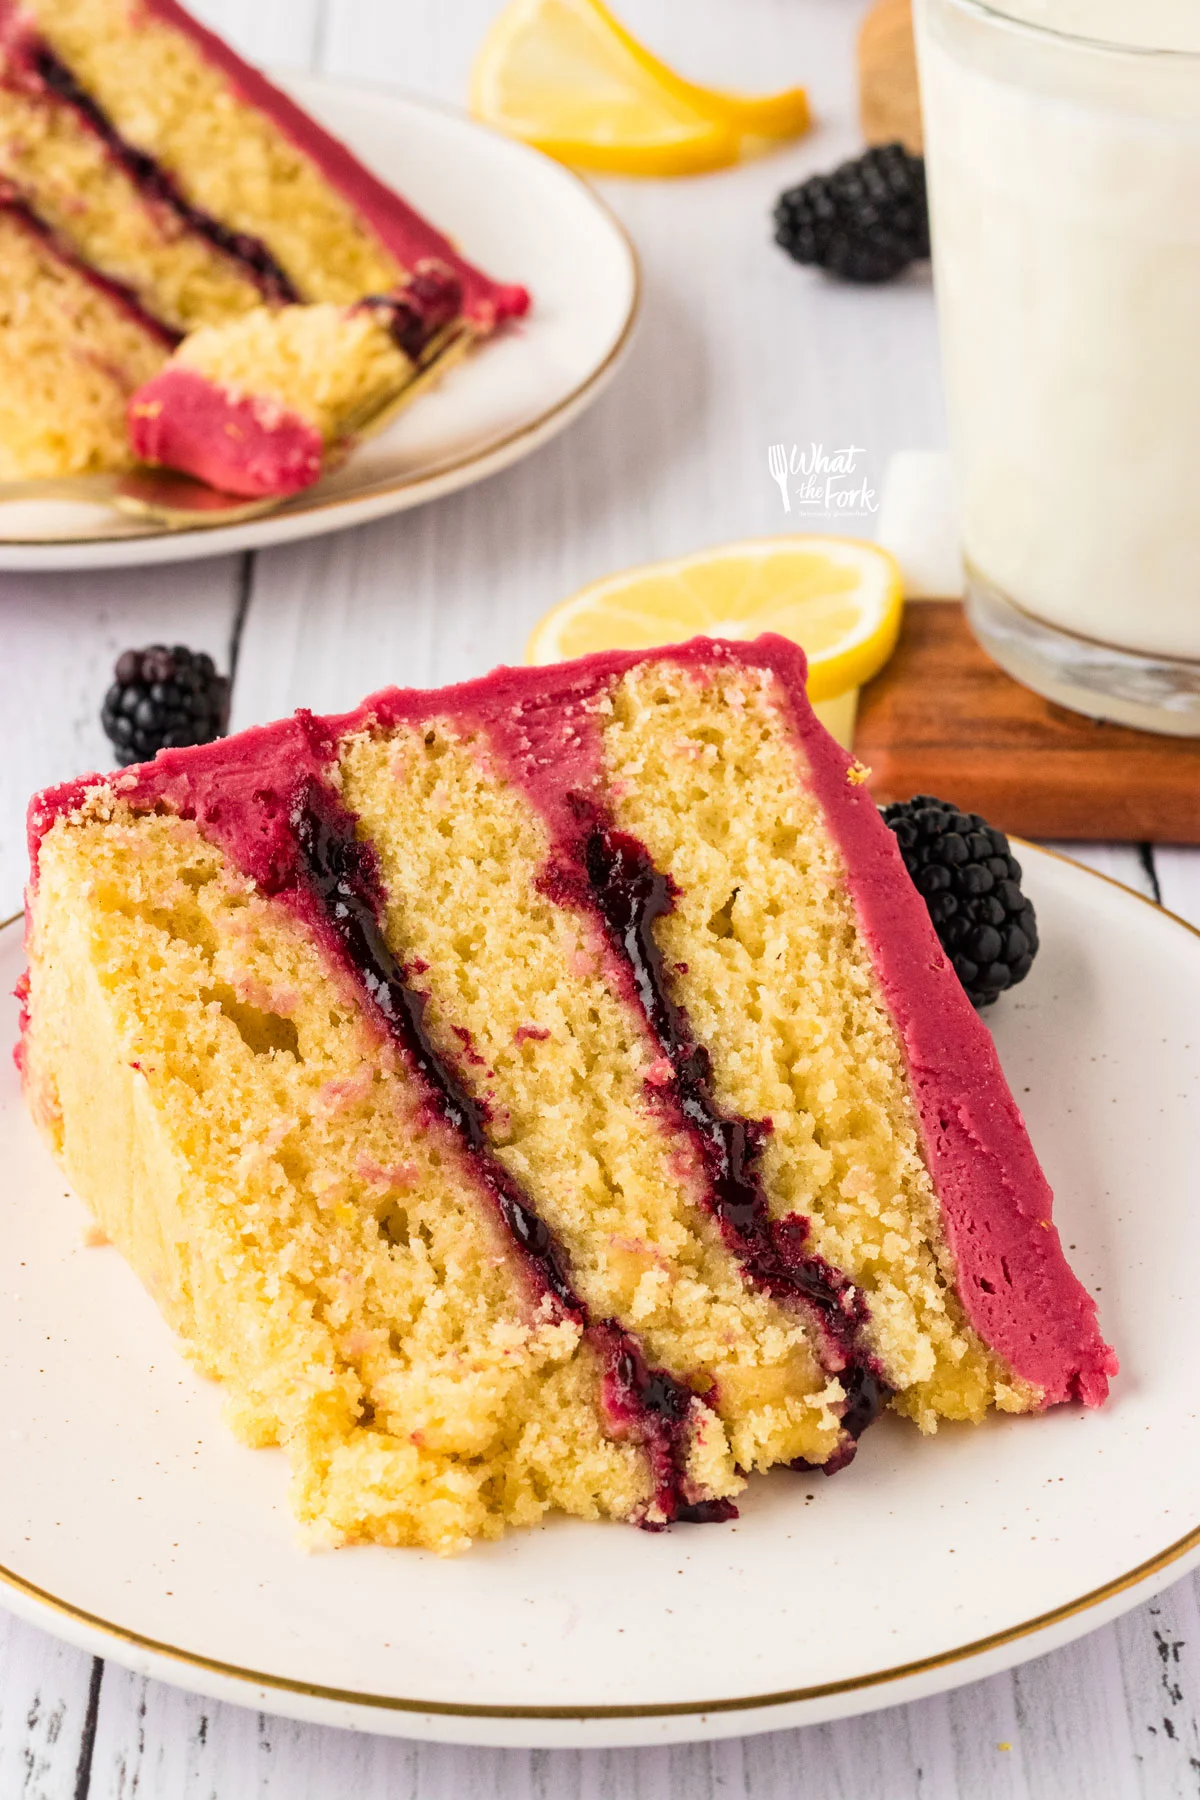
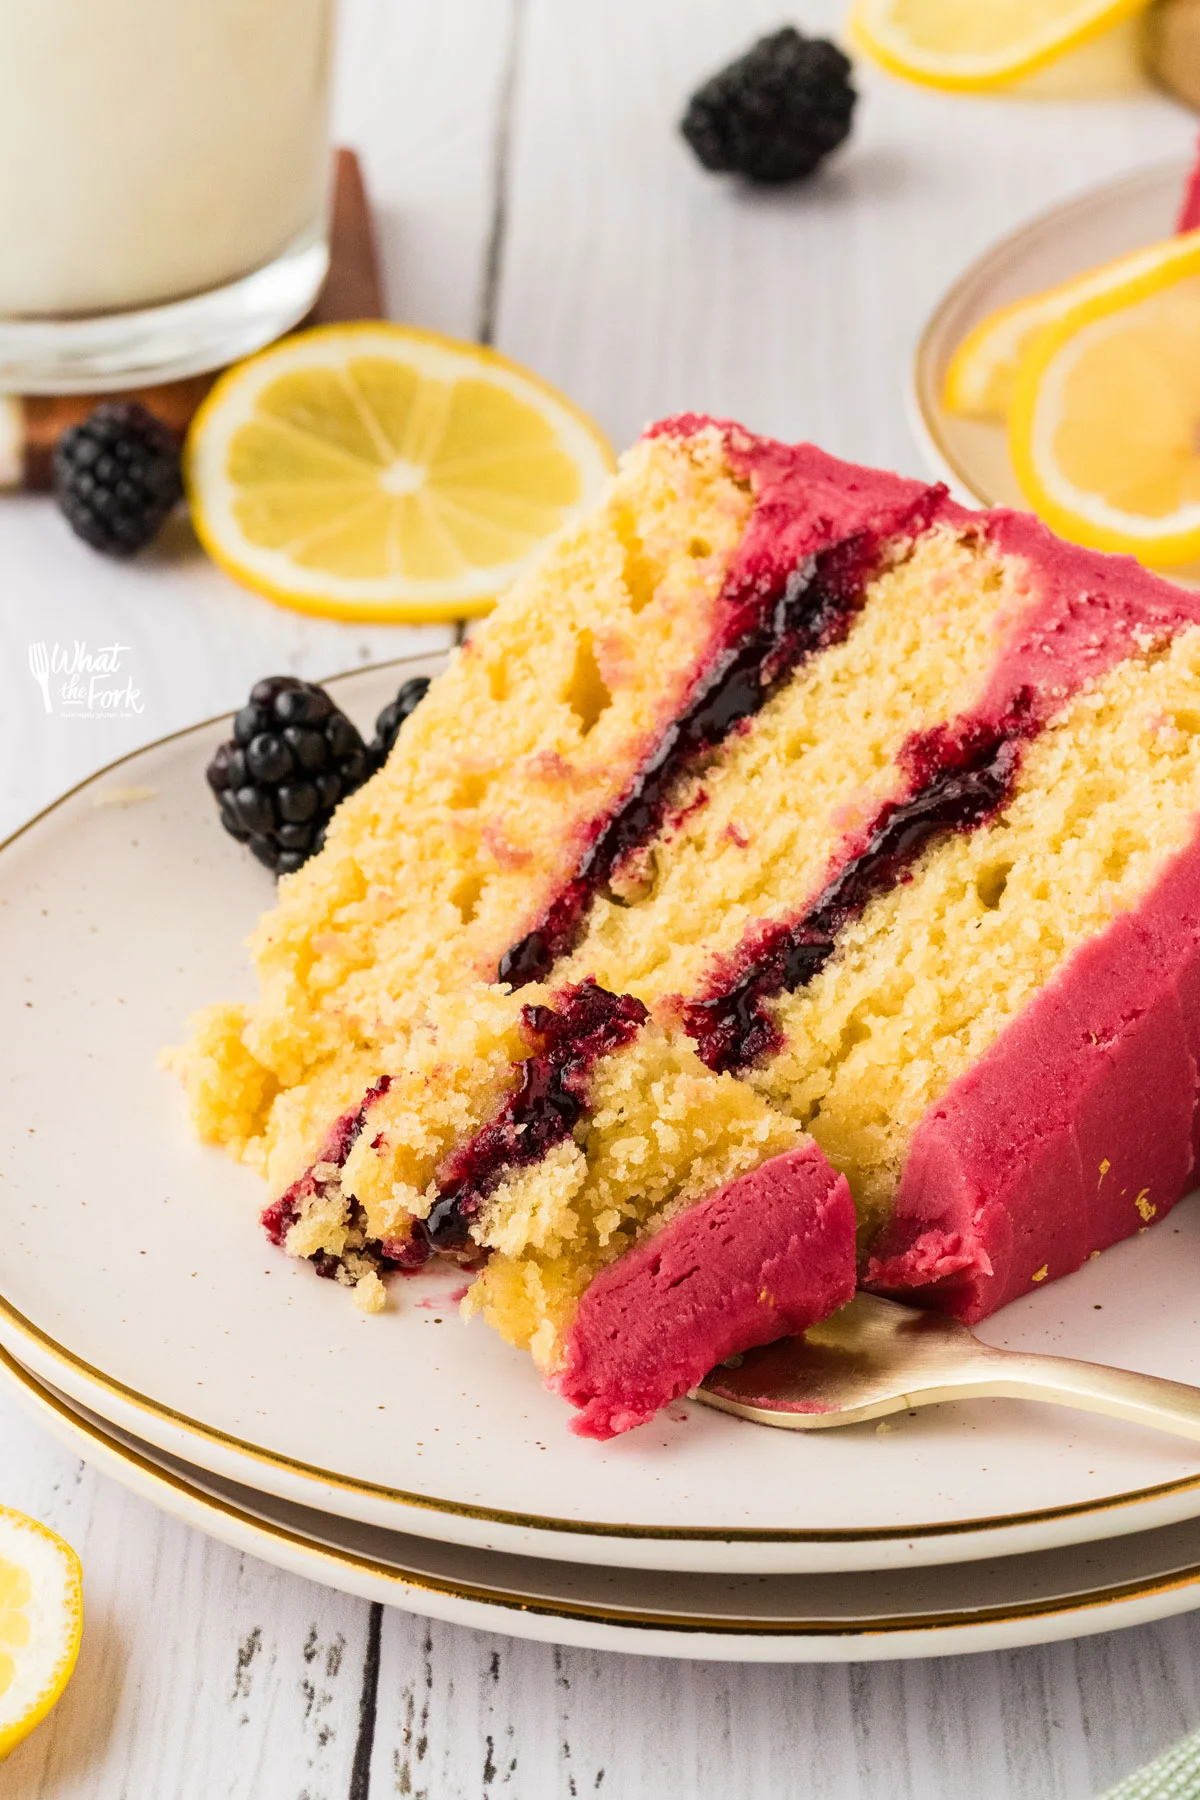
This gorgeous and vibrant Lemon Blackberry Cake is a 3-layer lemon cake made with gluten free flour. It’s filled with a simple blackberry filling and frosted in a homemade blackberry frosting. It’s a delightfully sweet and tangy combination of tender cake, saucy fruit, and sweet buttercream.
This post contains affiliate links for products and ingredients I use and love. You can read my full disclosure here. Thank you for supporting What The Fork Food Blog so I can continue to provide you with free gluten free recipes ♥
Lemon Blackberry Cake
Classic Gluten Free Lemon Cake is popular for a reason and never goes out of eating fashion. But with one little change, like switching out the Cream Cheese Frosting for Blackberry Buttercream, you get a whole new, fresh, and delicious cake with a fruity flare.
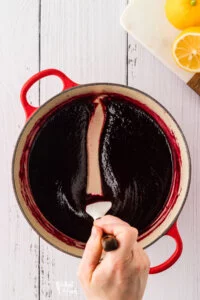
Lemon cakes are often filled with lemon curd but since this is a blackberry lemon cake, the filling is a homemade blackberry compote. It’s thicker than something like raspberry sauce but not quite as thick as jam.
When it comes to lemon, I often use a little bit of lemon extract in my lemon recipes to amp up that lemon flavor. After testing, I chose to leave it out of this cake because I didn’t want the lemon to overpower the blackberry flavor. Instead, the berries and lemon complement each other without one being stronger than the other.
You will love the bright, fresh flavors of this cake! It’s perfect for spring and summer celebrations.
Enjoy!
Ingredient Notes
- Gluten Free Flour – My favorite gluten free flour for baking cakes is my Nightshade Free Gluten Free Flour Blend. When combined with a little extra starch, such as cornstarch, it produces cakes with a light, and tender crumb.
- King Arthur Measure for Measure Gluten Free Flour was also tested in this cake recipe and works well.
- Xanthan Gum – xanthan gum and highly acidic ingredients, such as lemon juice, can be tricky to work with. After extensive testing with fresh lemon juice and zest in recipes for this website and my cookbook, I’ve found that you can use less xanthan gum than you normally would for similar recipes without the high concentration of acid.
- When you use too much xanthan gum with fresh lemon juice, your baked goods will come out dense and rubbery. For this reason, I highly recommend following the recipe as written or using a trusted 1:1 gluten free baking flour.
- Blackberries – this recipe was tested with frozen blackberries. If you use fresh blackberries, the blackberry filling may be slightly thicker.
- Lemons – You’ll use lemon zest and fresh lemon juice in the cake.
- Milk – Whole milk or higher-fat non-dairy milk works best with acidic recipes. The fat helps to balance the acid creating a tender cake.
*Be sure to read the full recipe card below for exact measurements and step-by-step instructions.
Equipment You’ll Need
- Microplane – My favorite zester is the Microplane. It does a wonderful job of removing a thin layer of citrus zest without getting the bitter pith.
- Immersion Blender – An immersion blender is the easiest way to blend the berries without having to transfer them to a traditional blender. If you don’t have an immersion blender, I highly recommend getting one! But you could also use a blender or handheld masher.
- Fine Mesh Strainer – you’ll need to let the cooked/mashed blackberries through a fine mesh strainer to remove the seeds.
- Cake Pans – this recipe uses three round 8-inch cake pans. These Wilton Performance Pans are the ones I always seem to reach for first!
- Parchment Paper – gluten free cake has a habit of sticking to pans more than cakes made with regular flour. For this reason, I always line the bottom of my cake pans with unbleached parchment paper (cut to fit).
How to Make (with Visual Instructions)
While this cake may seem like a lot of work, it’s fairly easy to make when you break it down into four simple steps.
Step 1. Make the Blackberry Filling
The filling can be made up to 3 days in advance.
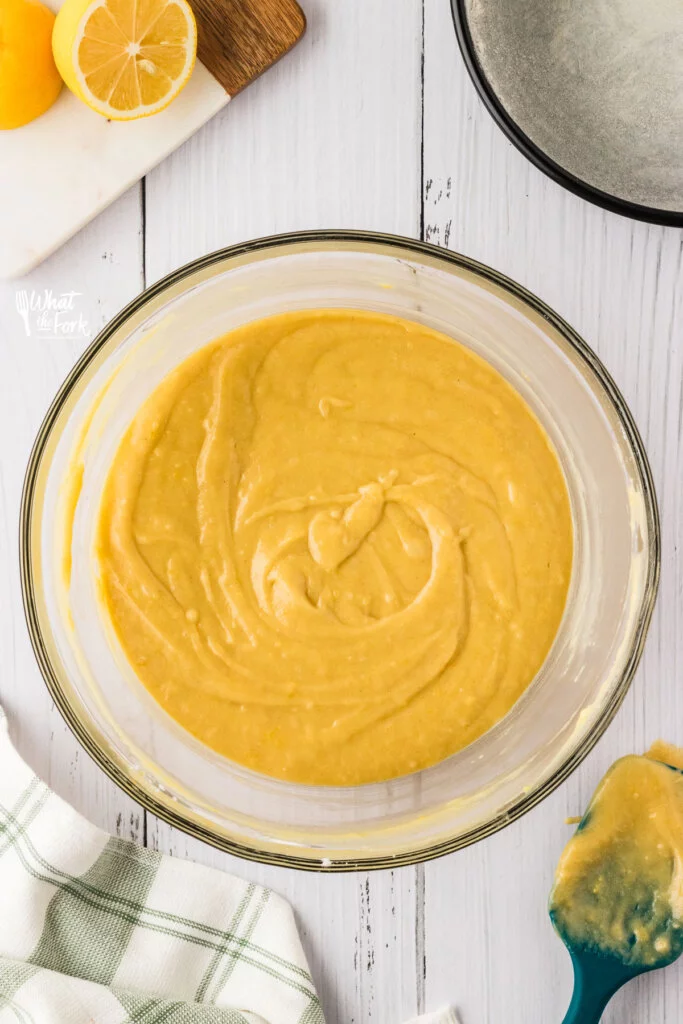
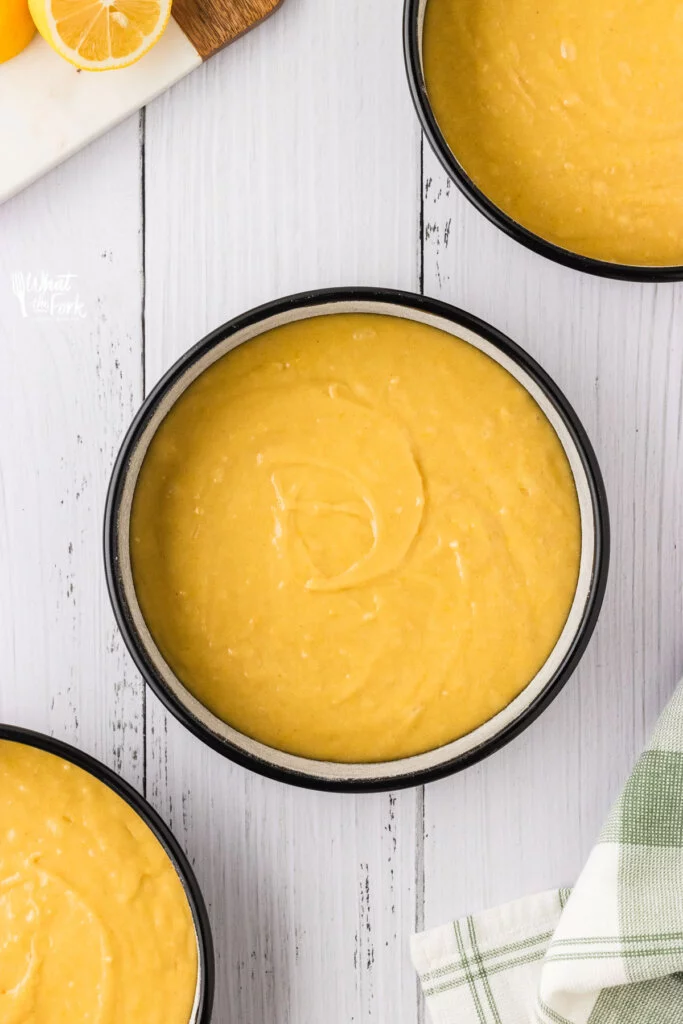
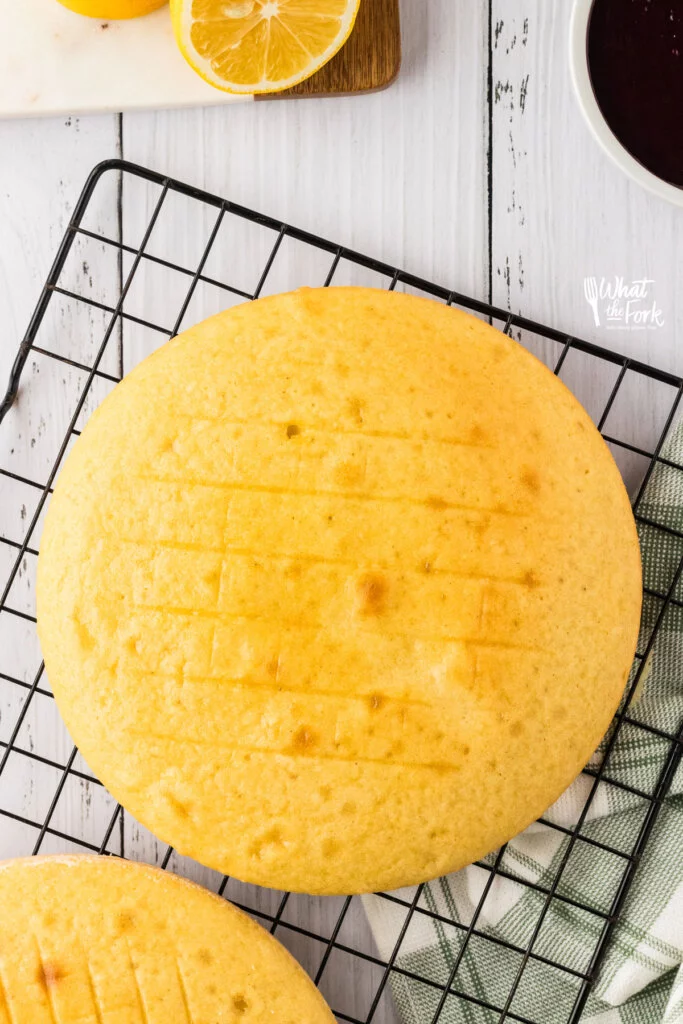
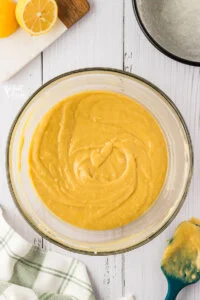
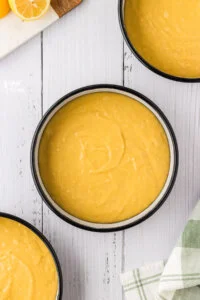
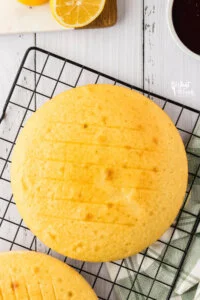
Step 2. Make the Cake
The cake can be baked in advance and the layers can be wrapped tightly and frozen until ready to assemble.
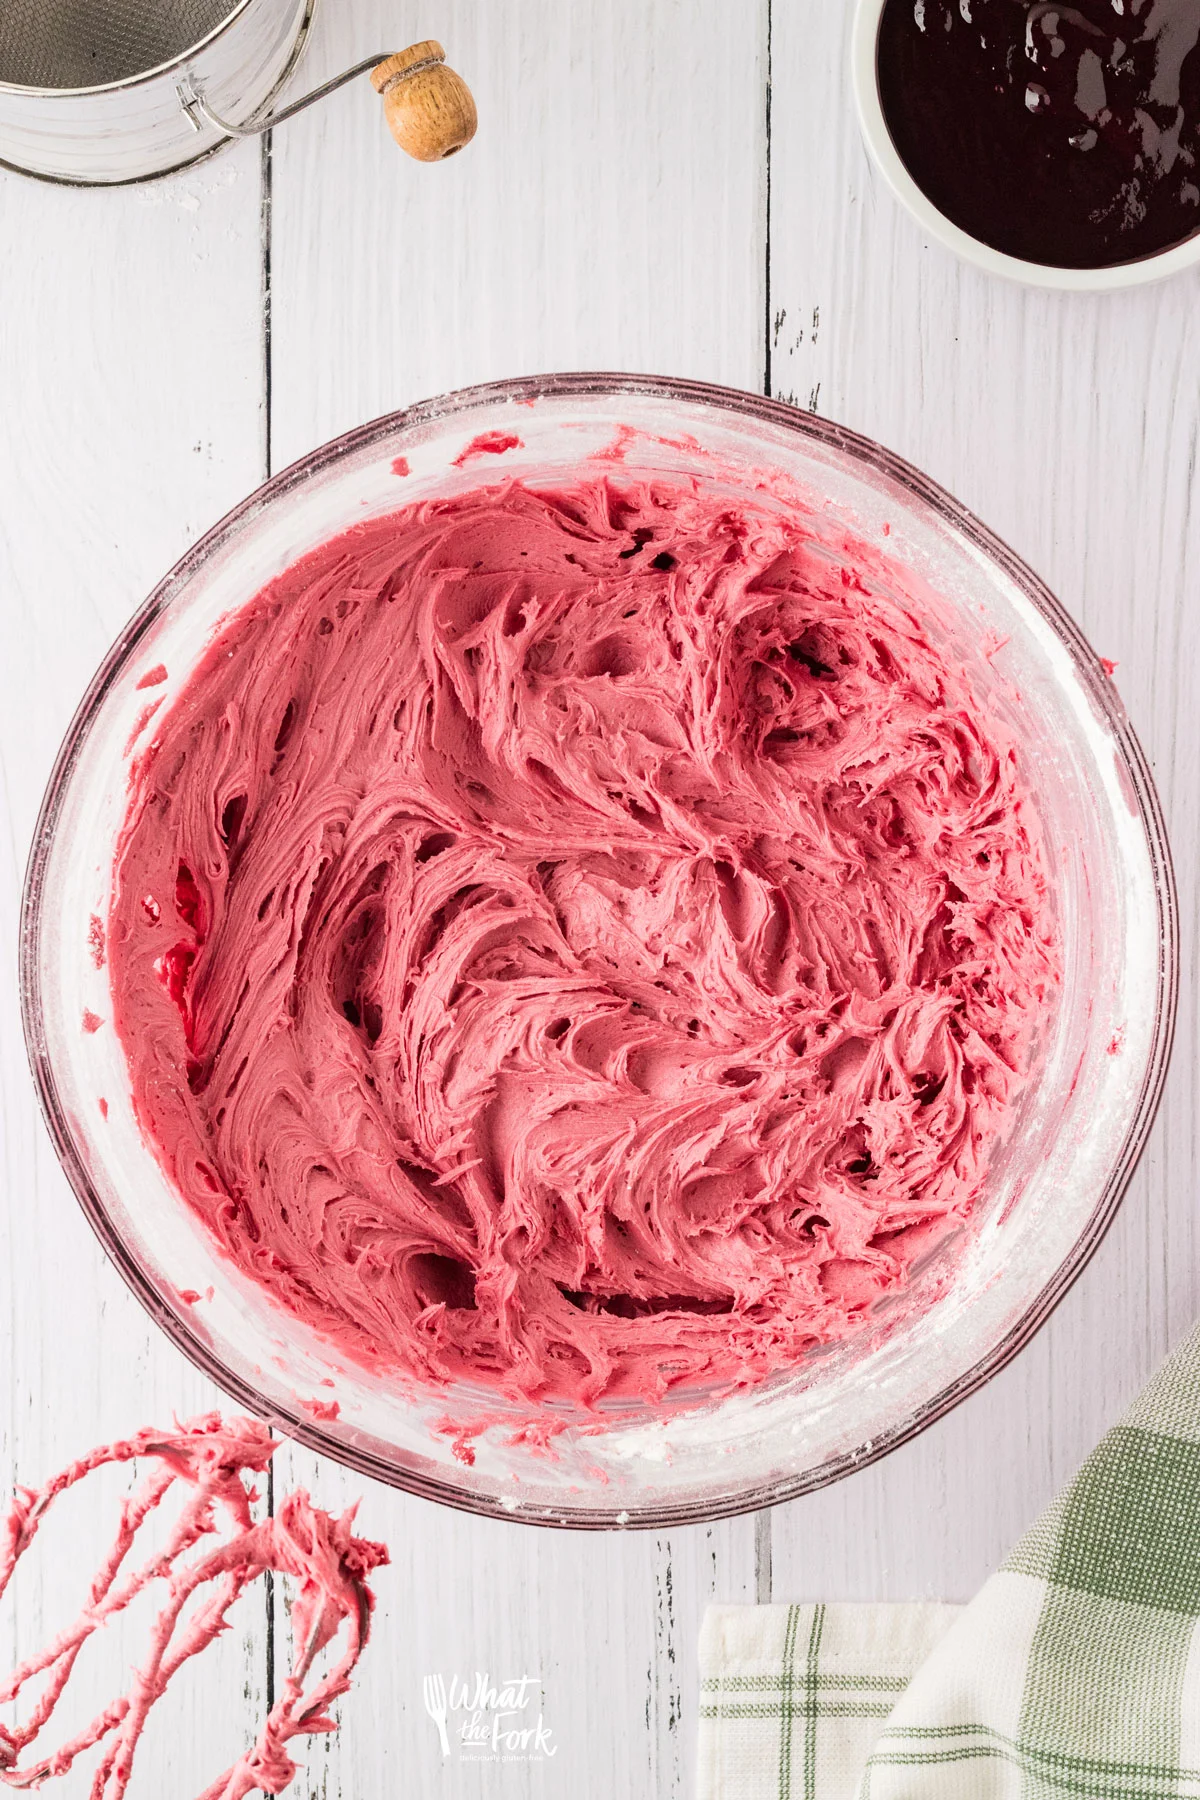
Step 3. Make the Frosting
The frosting can be made a day before assembling. Store in the refrigerator then bring to room temperature before ready to use. Beat the room temperature frosting on medium speed to bring it back to a light and fluffy consistency.
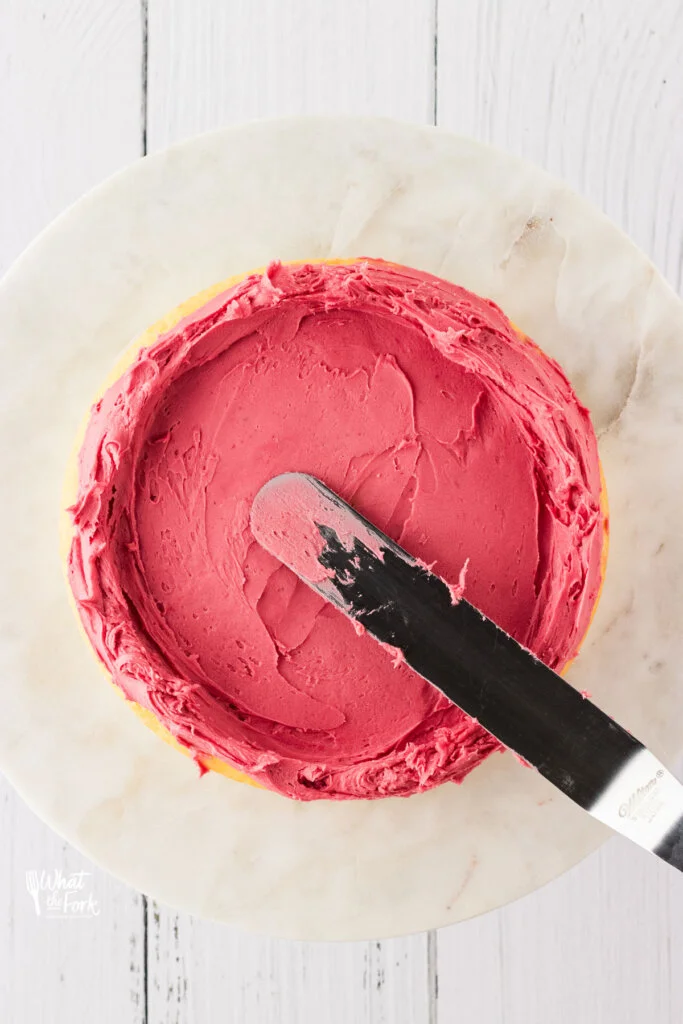
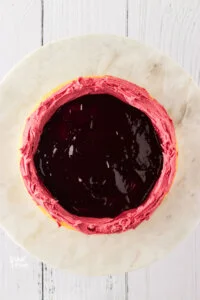
Step 4. Assemble
This cake can be assembled the day before serving. Fully cover it in plastic wrap and keep it in the refrigerator. Bring it to room temperature before serving.
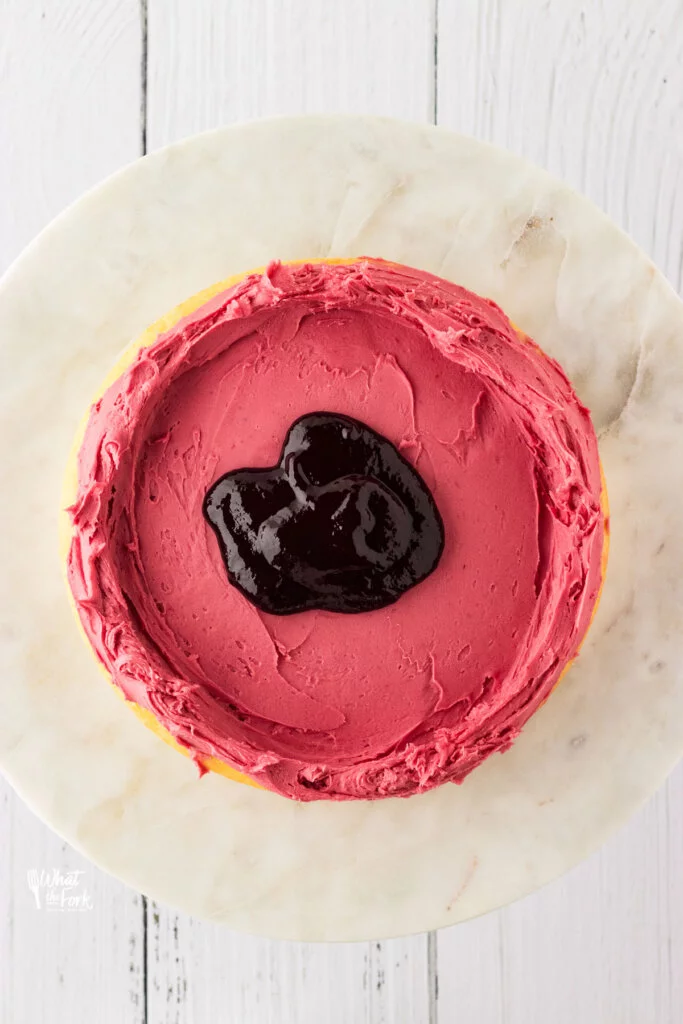
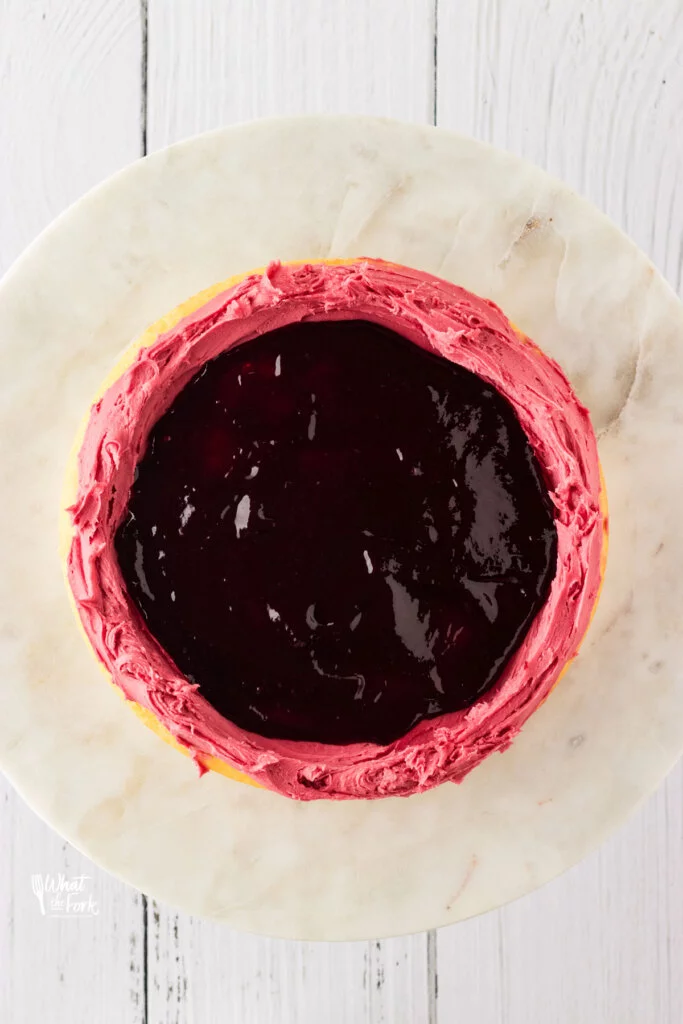
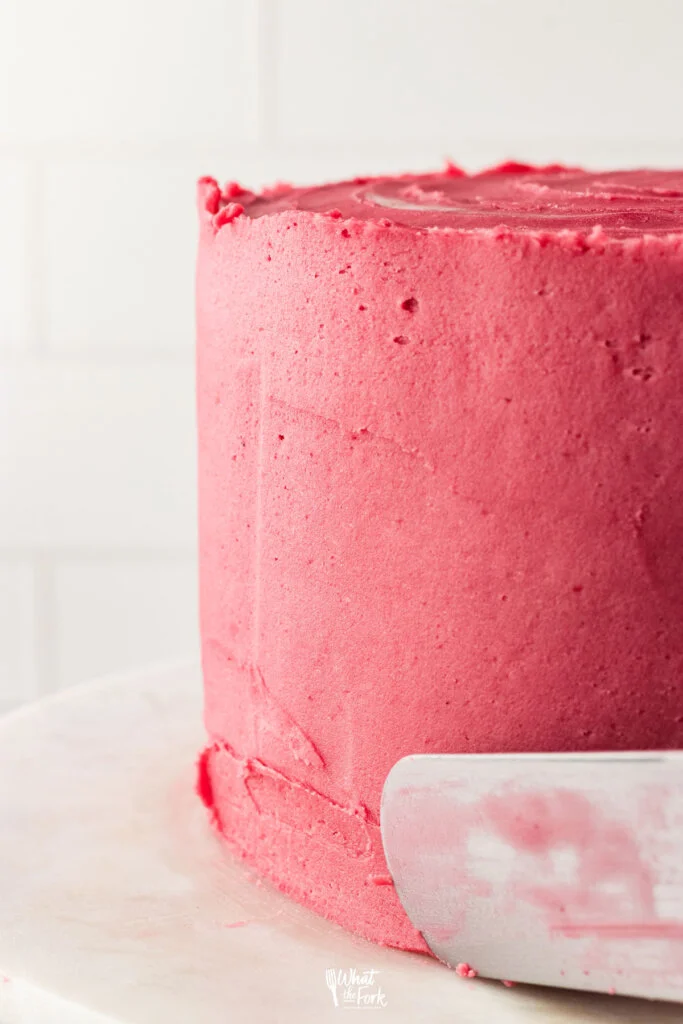
Can I use jarred jam instead of making the blackberry filling?
I would not recommend replacing the filling with store-bought jam or jelly. The consistency isn’t the same, so it would affect the results of your icing.
Not only that, but the flavor would be completely different. The filling is made to be a tart concentration of blackberry flavor, with only a little bit of sugar.
I find that this combination balances out the sweetness of the icing and the cake perfectly! If you were to replace it with store-bought jam, it would result in a significantly less tasty cake, and I want you to have the tastiest cake possible!
Storage
Leftover cake can be stored in the refrigerator. For best results, press a piece of wax paper to the sides of the cut cake then wrap the entire cake in plastic wrap. The wax paper will help prevent the cake from drying out.
The cake layers can be frozen if you’re not planning on frosting right away. Wrap each layer tightly in plastic wrap and freeze on a sheet pan.
Keep frozen until ready to use. You can frost the cake layers while they are still frozen or partially frozen and then let the cake defrost fully before serving.
To freeze leftover cake, slice the cake into individual pieces and place them on a sheet pan. Freeze until solid then wrap the individual pieces in plastic wrap and transfer to freezer safe bag. Cake can be frozen 3-6 months. Defrost at room temperature when ready to eat.
If you’ve made this Gluten Free Lemon and Blackberry Cake recipe, I’d love it if you could leave a star rating and comment below!
Be sure to follow me on Instagram and hashtag #whattheforkfoodblog or tag @whattheforkfoodblog – I love seeing what you make!
If you love this Gluten Free Lemon Blackberry Cake recipe, follow me on social media so you never miss a post:
| Facebook | Twitter | Pinterest | Instagram | Youtube | Newsletter |
Gluten Free Lemon Blackberry Cake
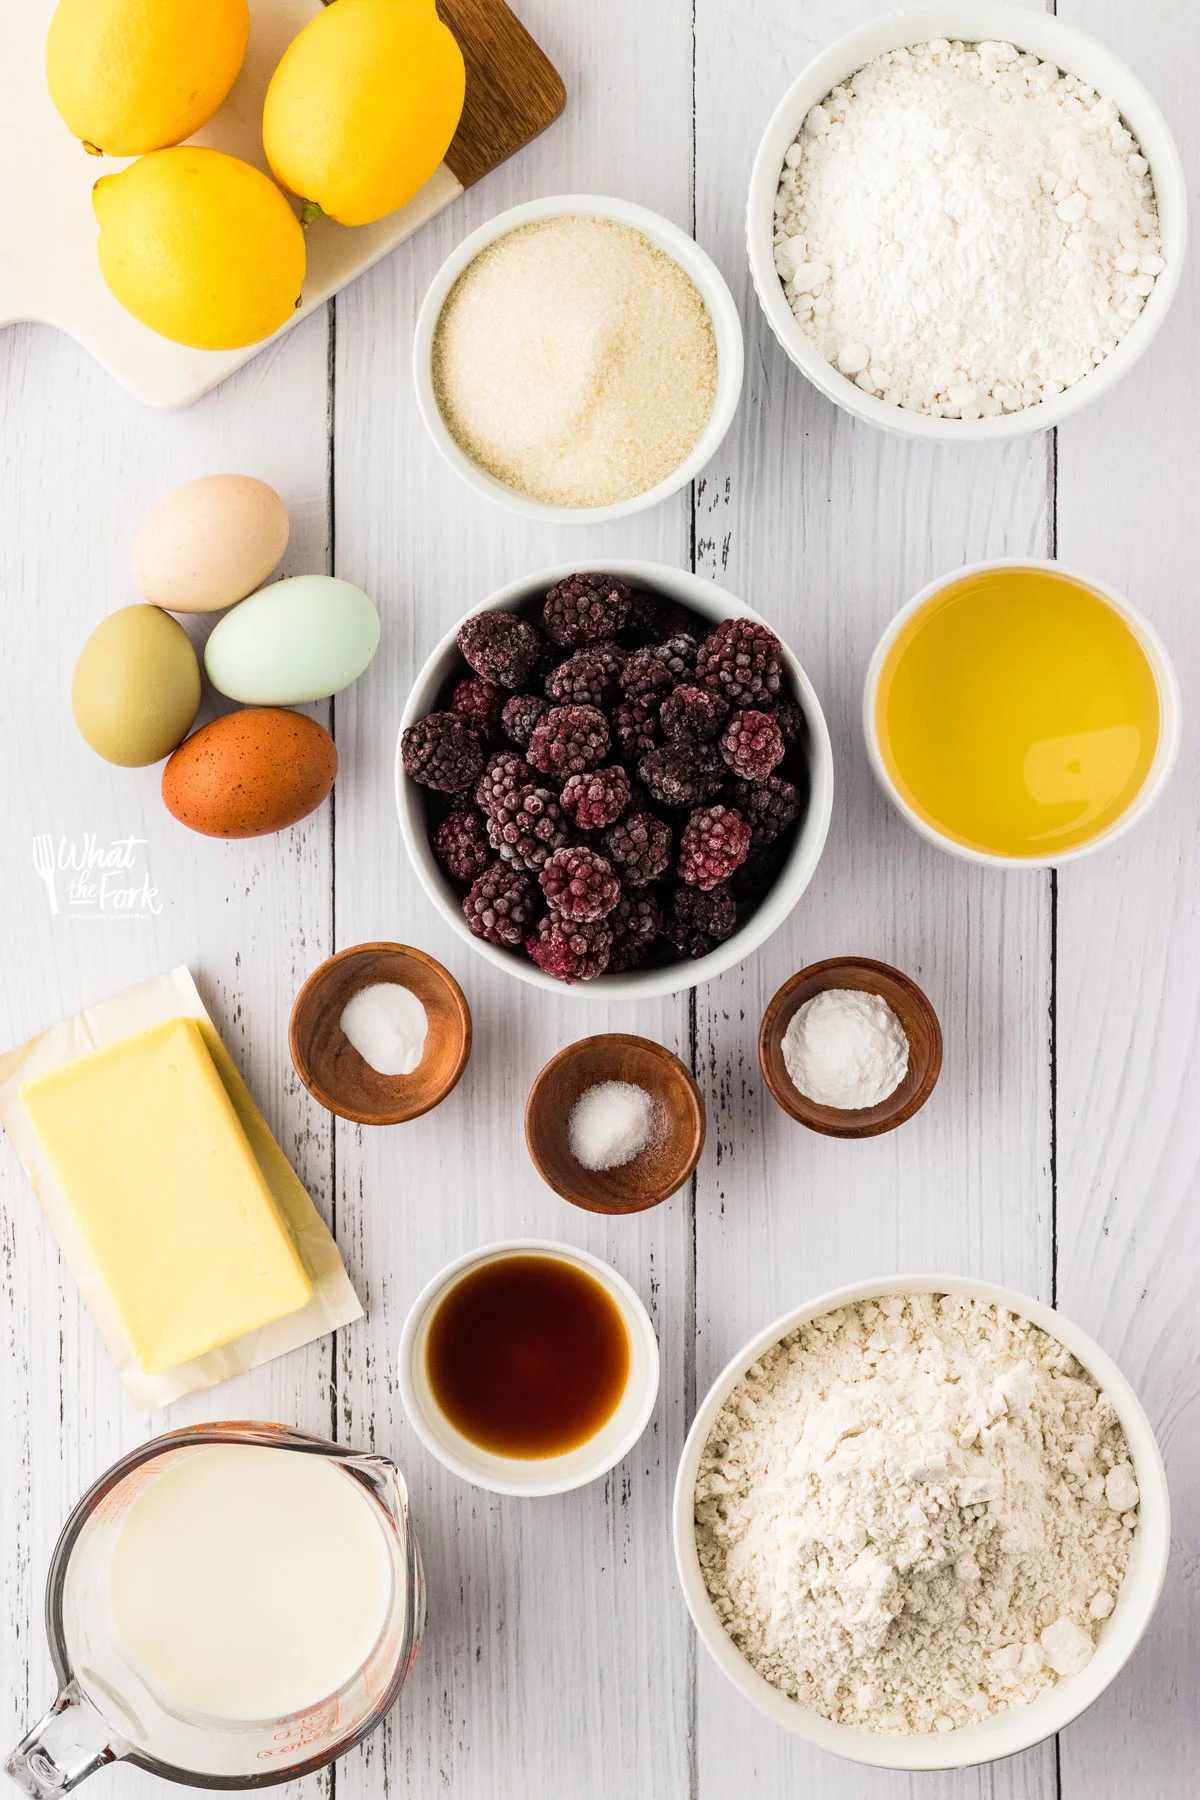
Ingredients
For the Blackberry Filling
- 2 pounds Frozen Blackberries
- ¼ cup Fresh Lemon Juice, about 1 ½ lemons
- ½ cup Granulated Sugar
For the Cake
- 3 cups Gluten Free Flour Blend
- ½ teaspoon Xanthan Gum, omit if your flour blend contains it
- 2 teaspoons Baking Powder
- ½ teaspoon Baking Soda
- ½ teaspoon Fine Sea Salt
- 1 cup Milk, whole milk preferred
- ¼ cup Fresh Lemon Juice
- Zest from 3 Lemons
- 1 ½ cups Granulated Sugar
- ½ cup Vegetable Oil
- ¼ cup (4 tablespoons) Unsalted Butter, melted
- 4 large Eggs, room temperature
- 1 teaspoon Pure Vanilla Extract
For the Buttercream Frosting
- 1 ½ cups (3 sticks) Unsalted Butter, room temperature
- 6 cups Powdered Sugar
- 2 teaspoons Pure Vanilla Extract
- ⅓ cup Cooled Blackberry Filling
Instructions
- Read the recipe notes and the post for helpful information regarding this recipe.
Make the Filling
- Put the filling ingredients in a medium-sized saucepan on medium heat and cover. Allow the berries to defrost and cook for about 10 minutes. Then use an immersion blender to carefully blend everything until there are no whole berries remain. If you don’t own an immersion blender, use a potato masher to mash everything up instead.

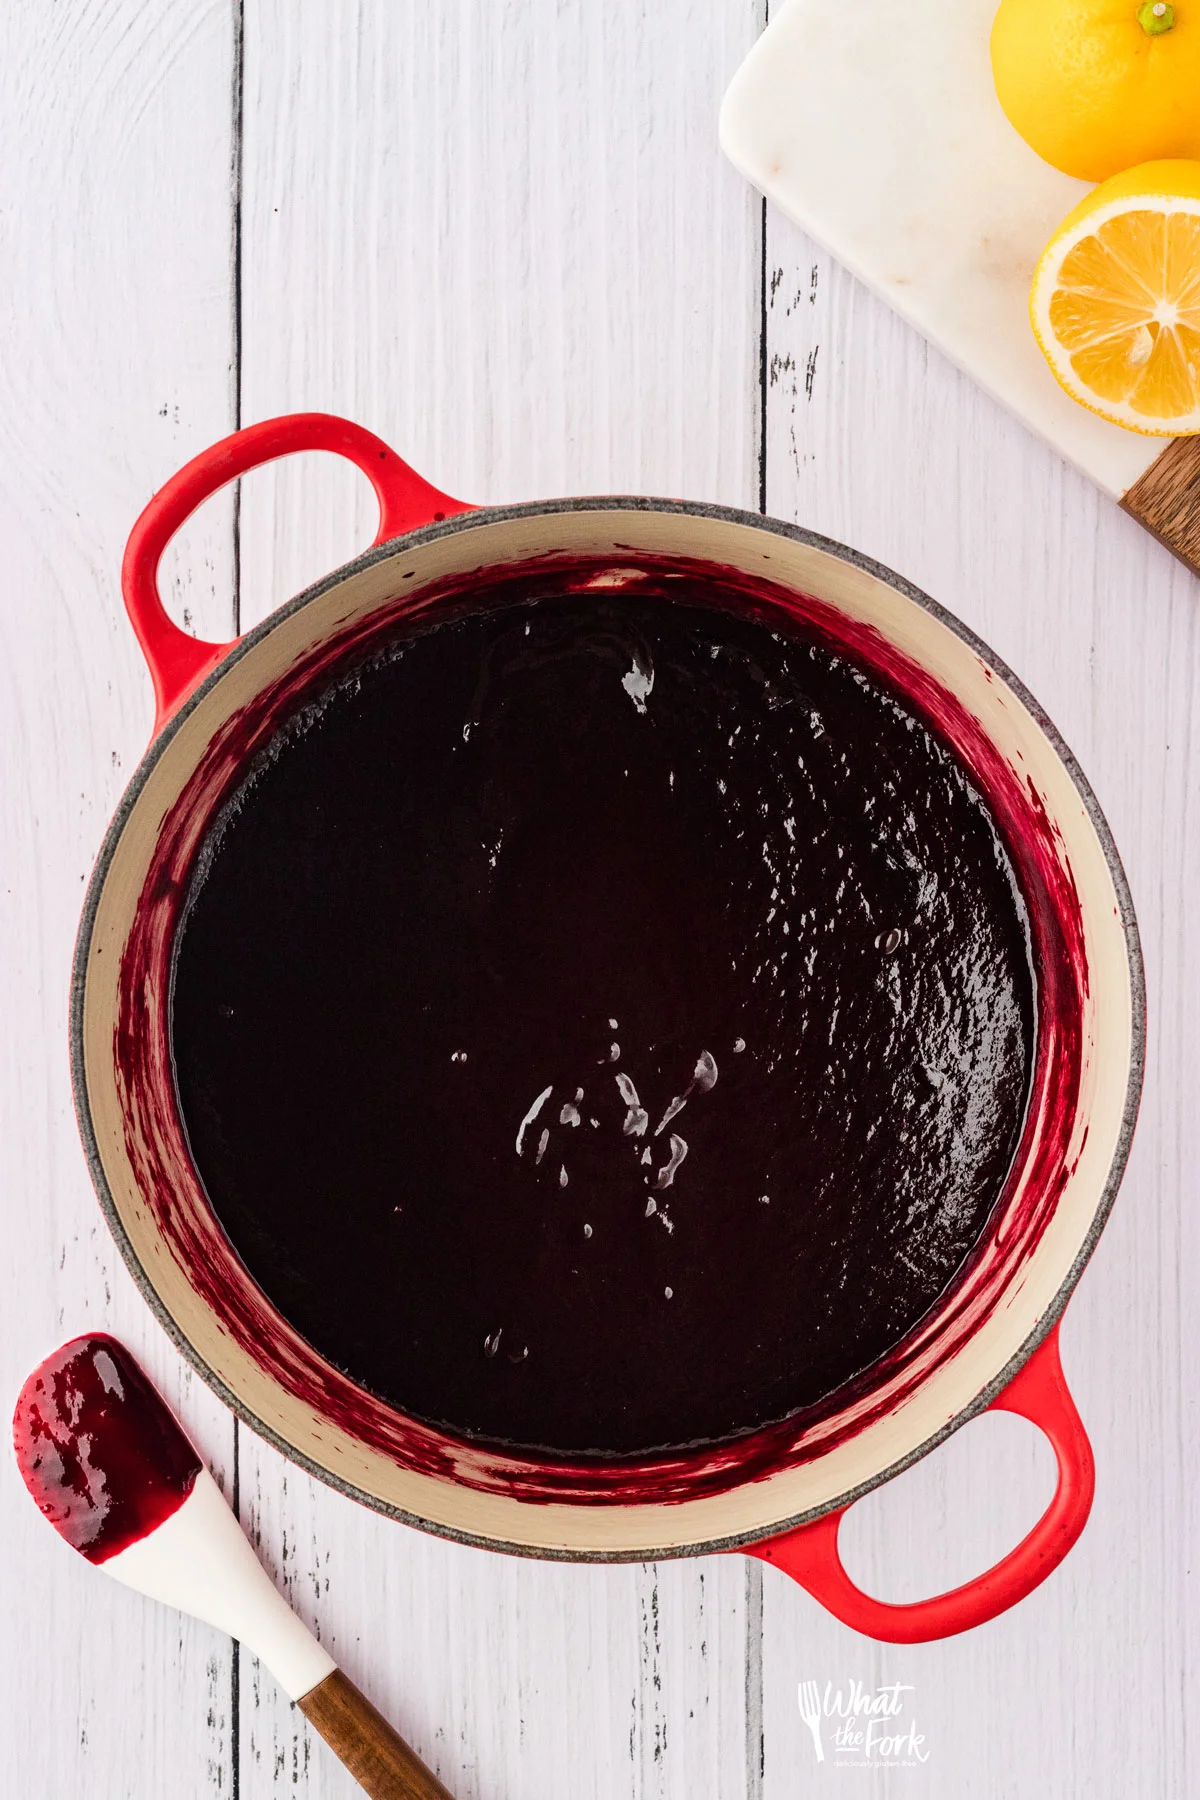
- Once all your berries have been blended or mashed, strain through a fine mesh strainer to remove all the seeds. Return your liquid to the pot and cook on medium, stirring frequently for around 25-30 minutes until your filling has halved in quantity and reached a loose, jammy consistency. It will continue to set as it cools. You want your filling to be thick, that way when you add it to the frosting, it doesn’t water it down.

- Remove from the heat andallow it to cool completely as you make your cake and frosting.
Make the Cake
- Preheat oven to 350 degrees F.
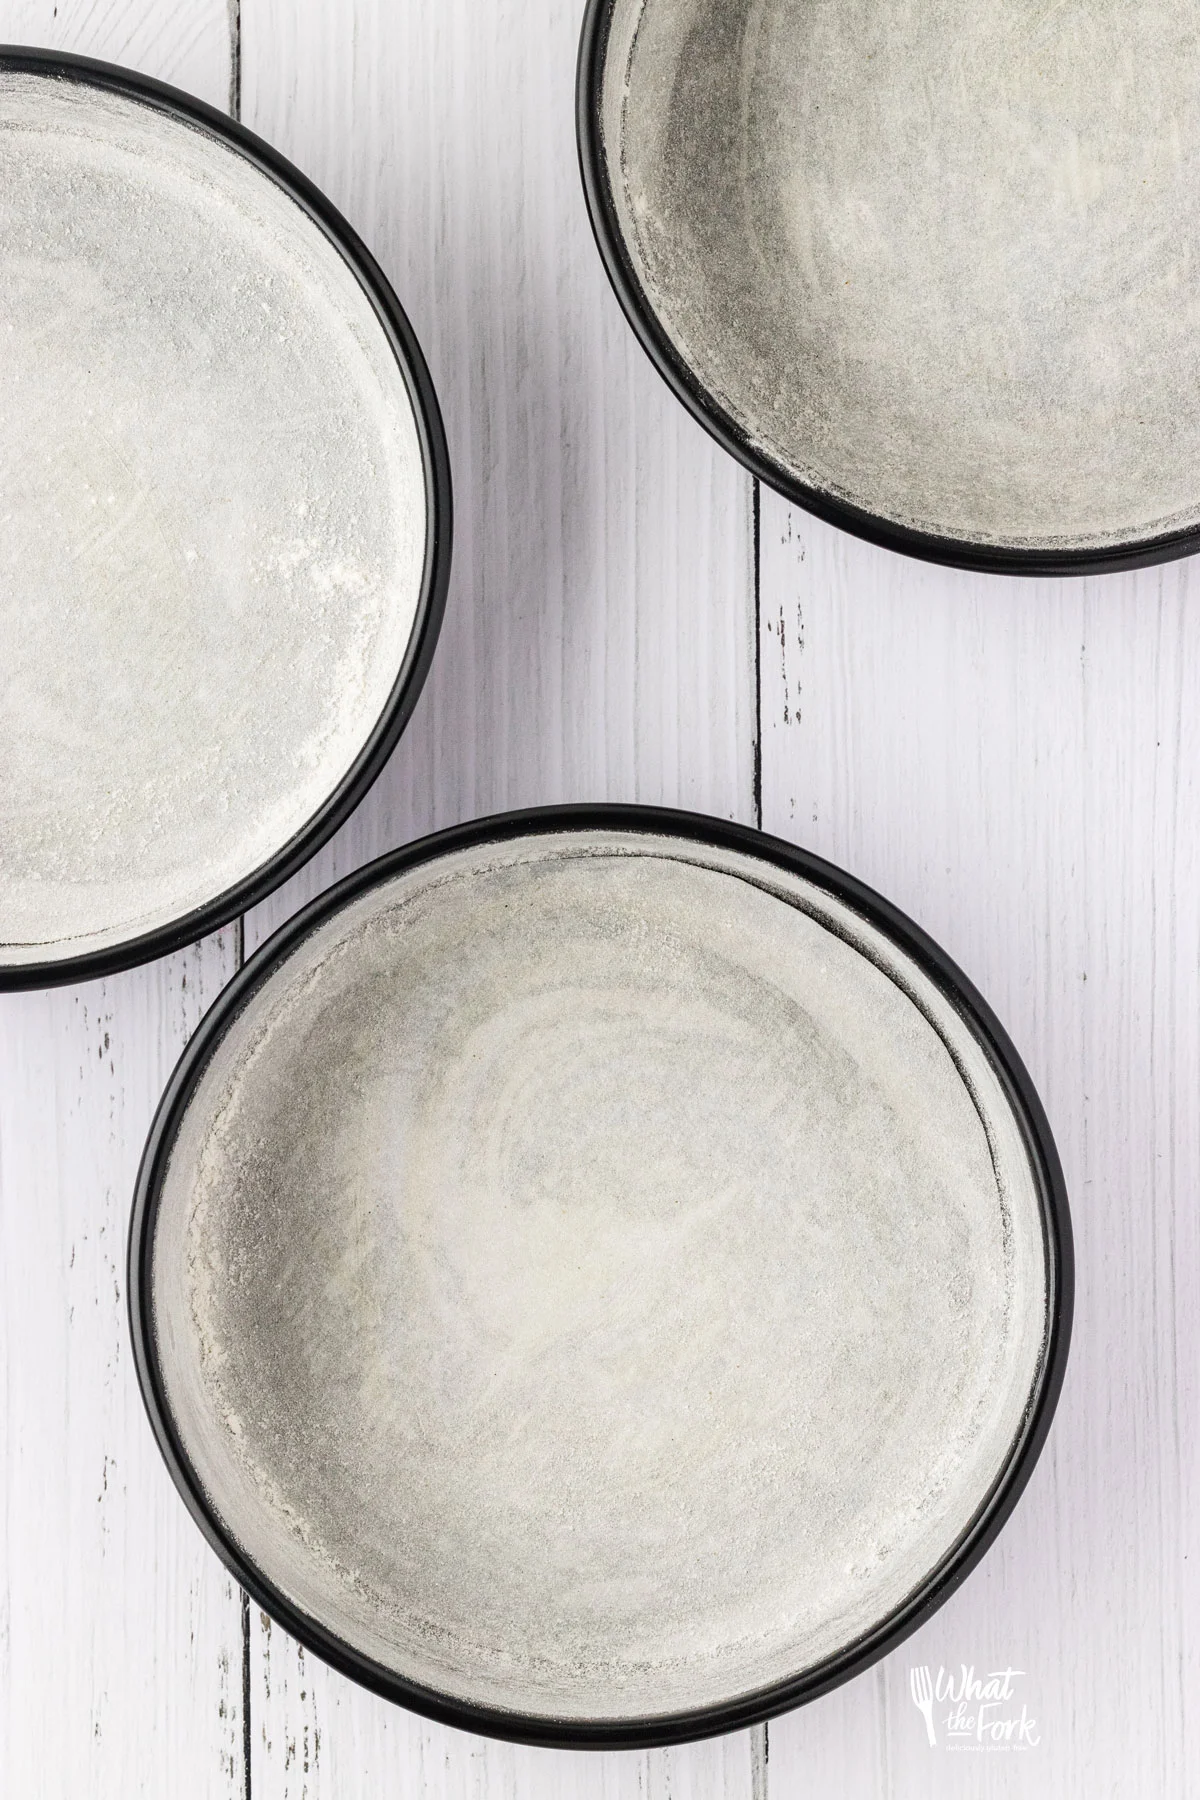
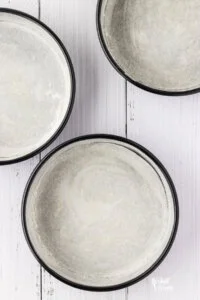
- Grease three 8-inch round cake pans with nonstick spray or softened butter and coat the bottom and sides of the pans with gluten free flour. Then line the bottoms with parchment paper that has been cut to size.

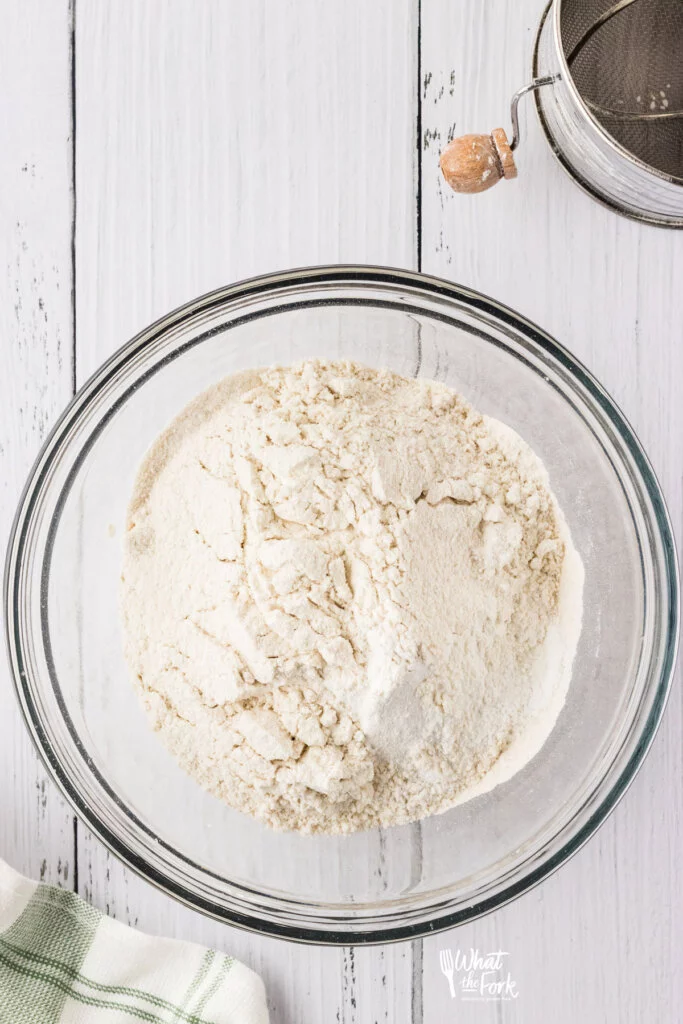
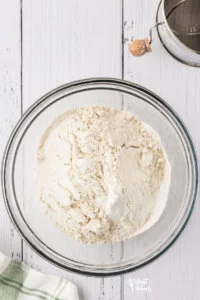
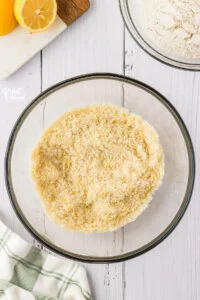
- Sift together your dry ingredients into a medium bowl and set aside.

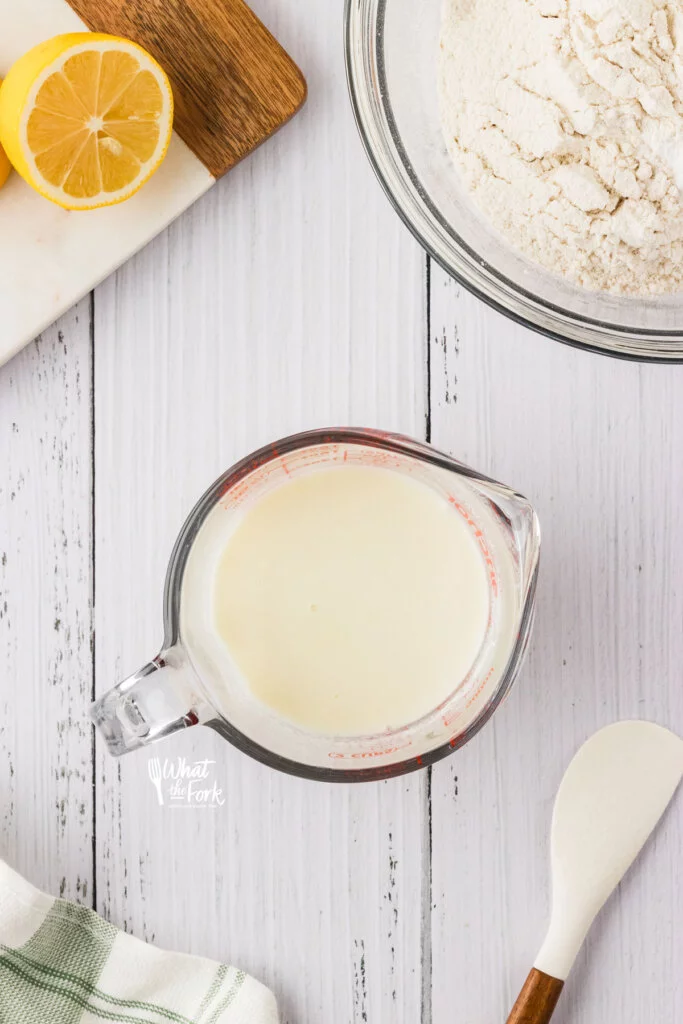
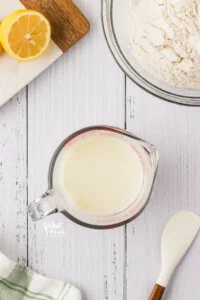
- Then, add the milk and lemon juice to a small bowl and set aside.

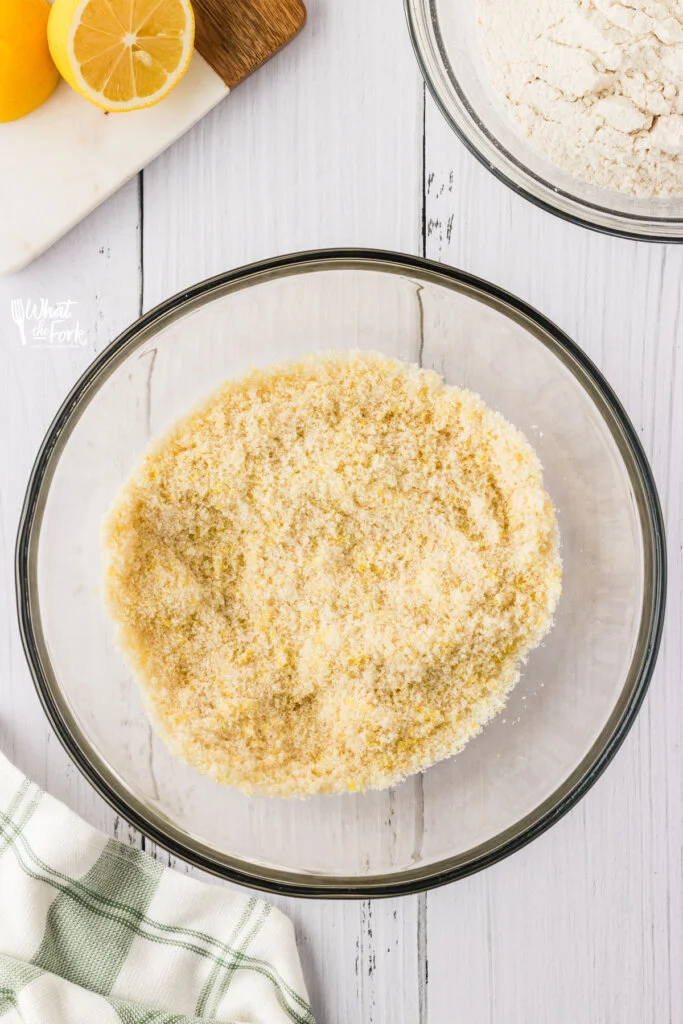
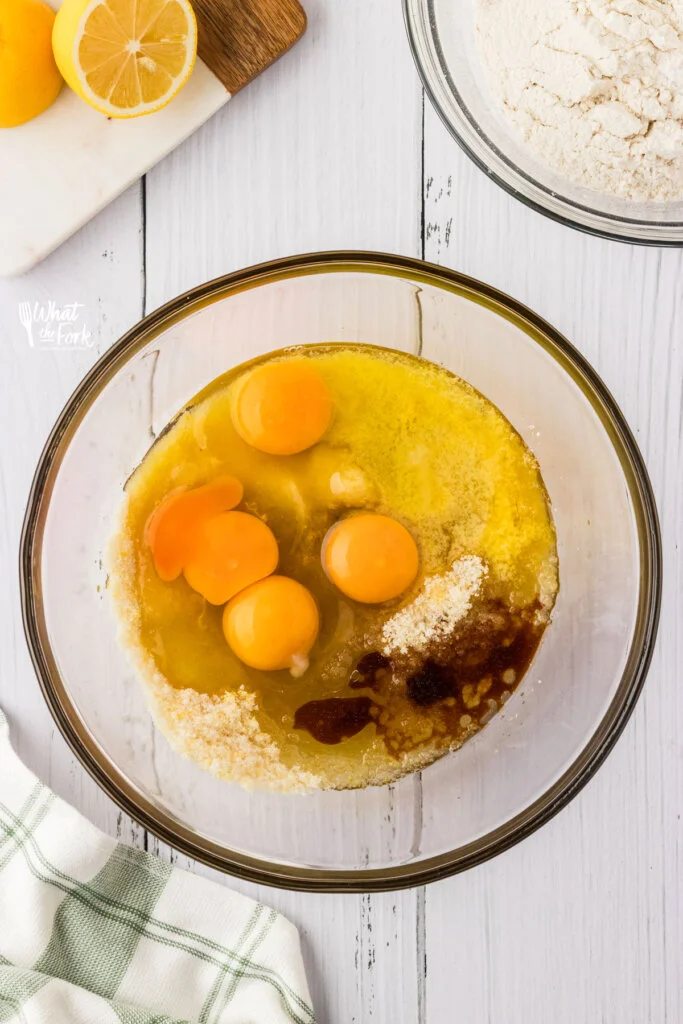
- In a large bowl, add the granulated sugar and lemon zest. Use your fingers to combine and massage the zest into the sugar to release the lemon oils from the zest and give the cake a more lemon flavor.

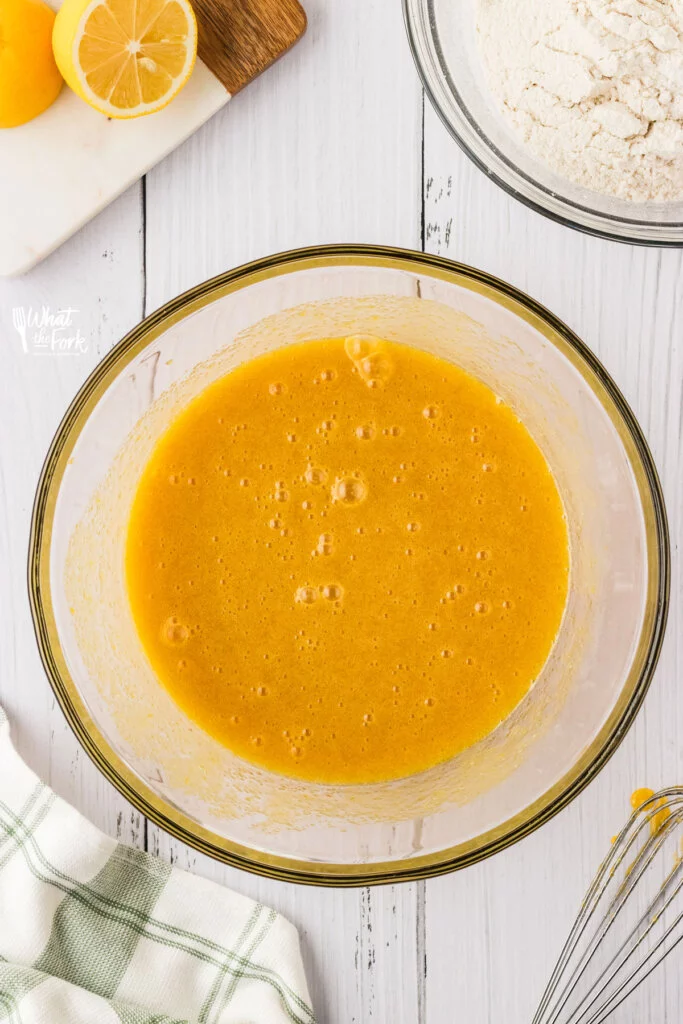
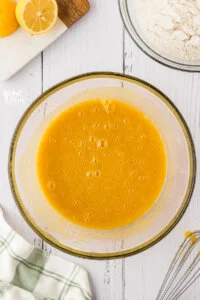
- Then whisk in the oil, melted butter, eggs, and vanilla extract until everything is combined.

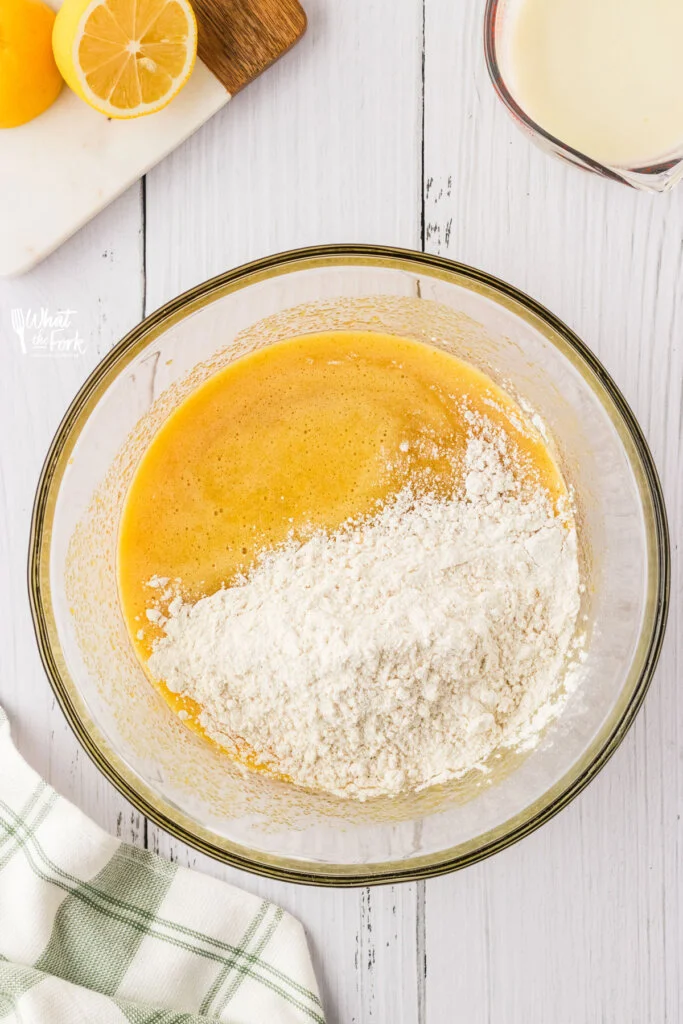
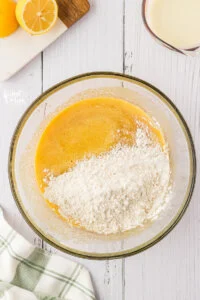
- Pour in half of the dry ingredients and mix well.

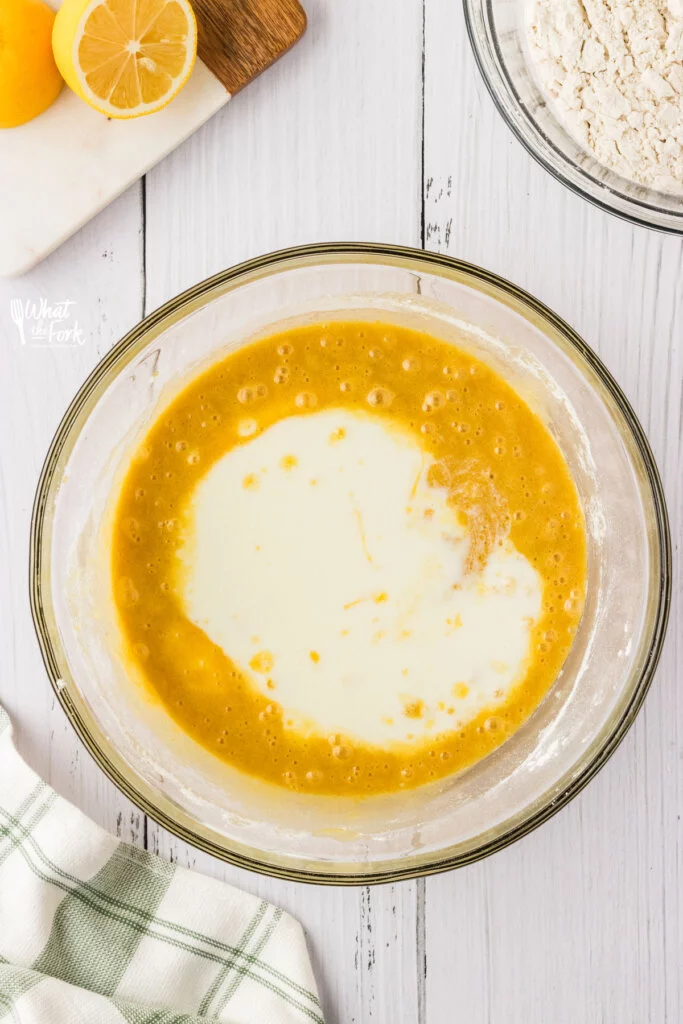
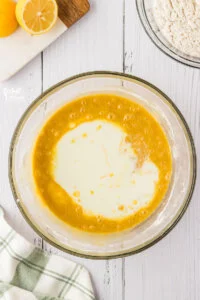
- Then add in the milk mixture and stir to combine.

- Add in the last of the dry ingredients. Stir until everything is fully incorporated and there are no lumps.

- Divide the batter evenly between the three prepared cake pans and bake for 18-22 minutes or until a toothpick comes out clean.

- When the cake layers are done, allow them to cool for 10 minutes in the pans then invert them onto wire cooling racks. Let the cakes rest and cool completely before assembling.

Make the Frosting
- Add the butter, vanilla extract, and ⅓ cup of the cooled blackberry filling to the bowl of a stand mixer. Use the paddle attachment to beat, on medium-low speed, until the butter and blackberry are thoroughly combined.
- Sift in half of the powdered sugar and mix on low speed. Then scrape down the bowl and sift in the remaining sugar. Mix until combined.
- Once all the sugar is incorporated with the butter, increase the speed and whip until the buttercream is smooth and light. If the buttercream is too stiff, mix in 1 tablespoon of the blackberry filling at a time. If it’s too loose, add a small amount of powdered sugar until it reaches your desired consistency.
Assemble
- If the cake layers aren’t flat, use a serrated knife to level them off. Then, add a small dollop of icing in the middle of your cake plate or stand to secure the first cake layer.
- Use an offset spatula to spread a thin layer of icing over the top of the cake. This will help protect the cake from getting soggy from the filling.
- Pipe or spoon a border of icing around the rim of your cake layer to keep any filling from seeping out. Dollop on about ⅓ of a cup of the blackberry filling and spread it evenly to fill the cake. Place the next cake layer on top, being careful to center it, and repeat the same process for the second layer.

- Add the final cake layer and frost the cake with a crumb coat to seal in the filling and any cake crumbs. Refrigerate for 15-30 minutes before frosting. Once the crumb coat is set, frost your cake with the remaining frosting.

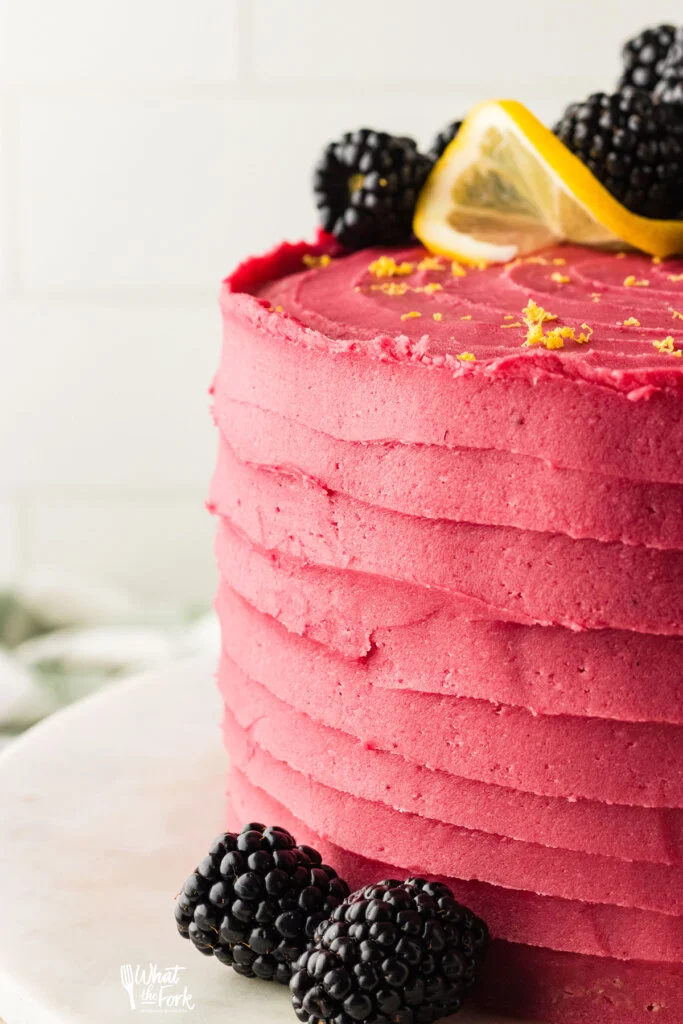
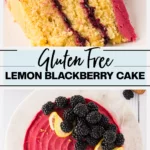
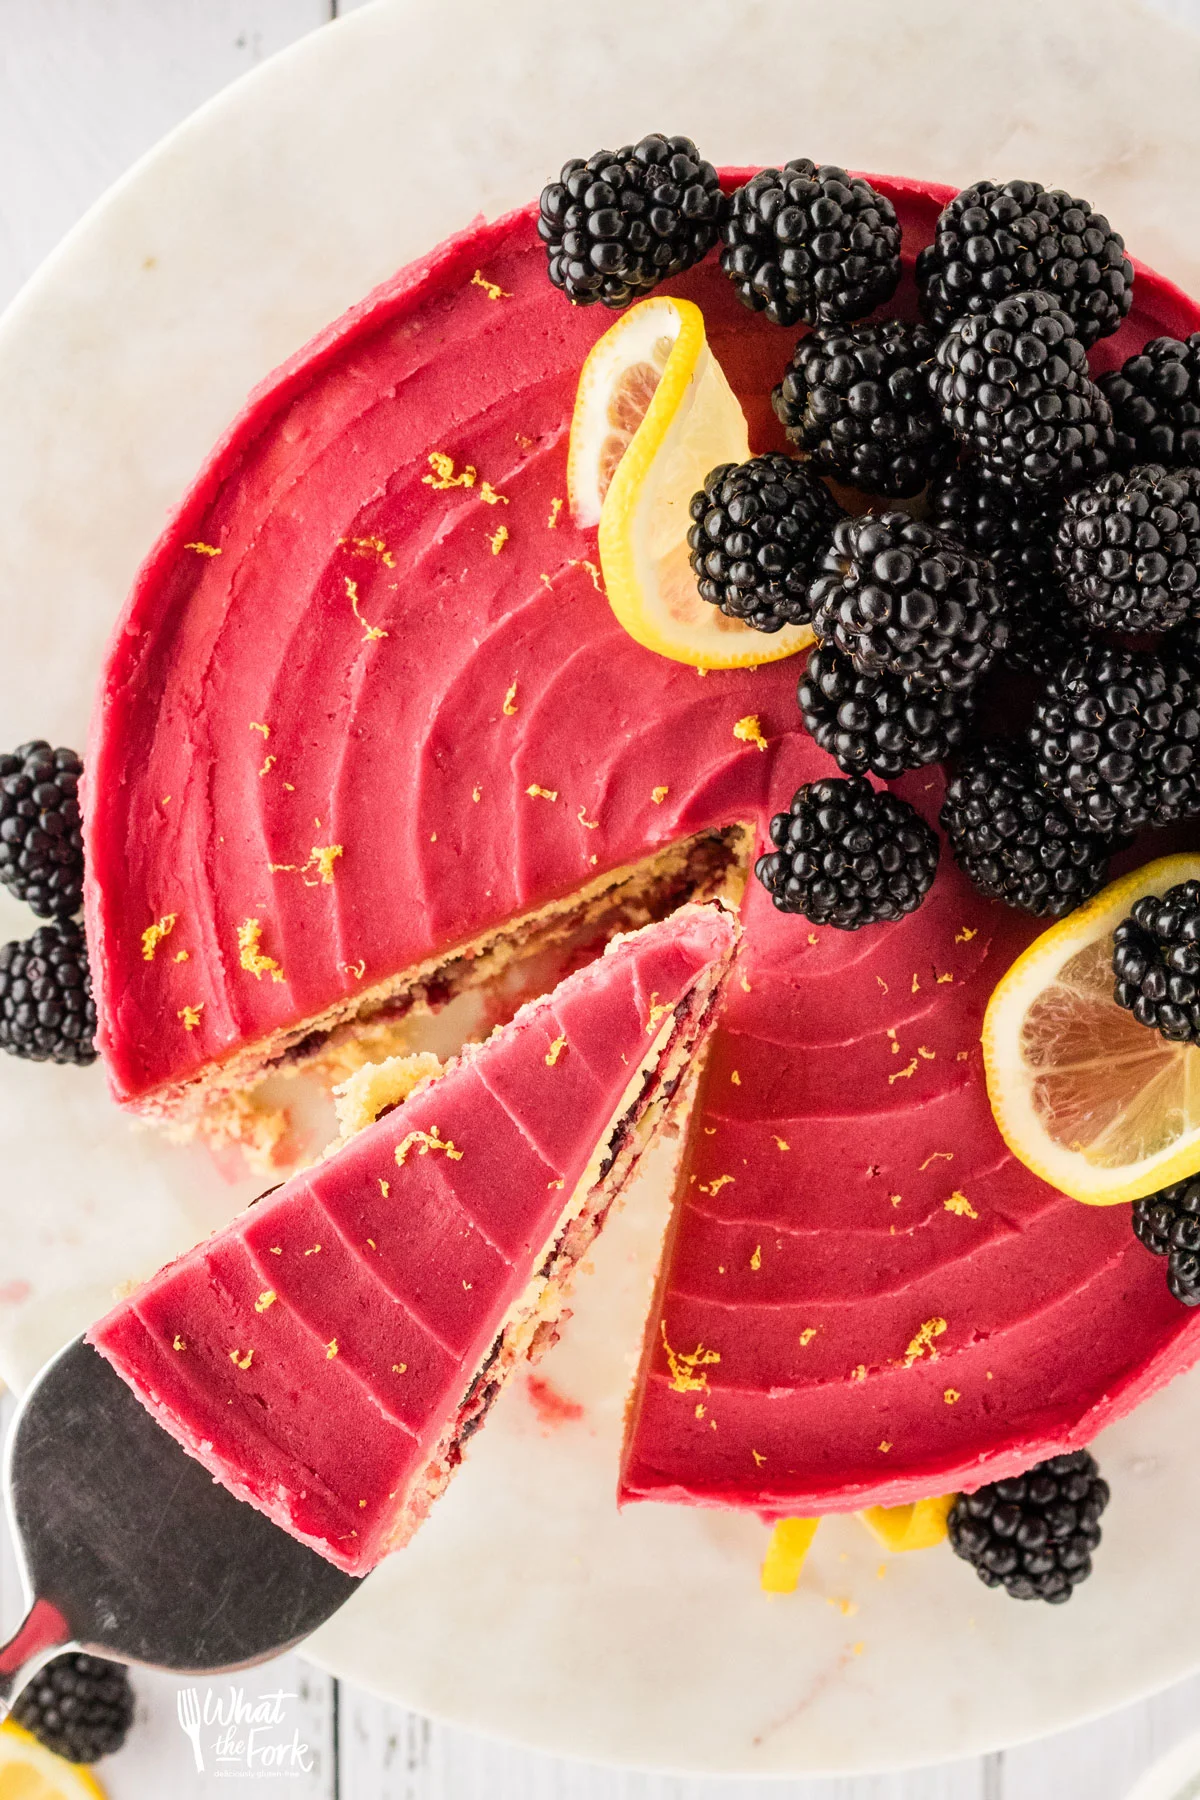
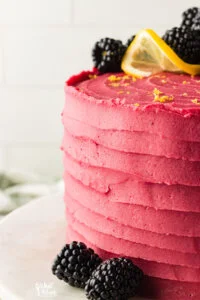
- Garnish with fresh blackberries, lemon zest, or lemon wheels, and enjoy!

Notes
- Read the post for helpful tips on making this gluten free cake recipe.
- Zest the lemons before juicing them!
- King Arthur Measure for Measure Gluten Free Flour works great in this recipe (linked in the blog post above in the ingredient notes.
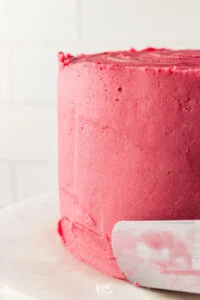
- For a simple design option, press the tip of your offset spatula very gently into the icing at the bottom of the cake and, turning your cake plate or stand, drag your spatula through the icing to create a line indent. Keep spinning your cake and dragging your spatula up until you’ve reached the top. You can do the same with the top as well, starting on the outside and spiraling in. A cake turner comes in handy for this!
- Nutrition information is approximate and based on 12 servings but you could easily get 16 servings from this cake.
- Make ahead directions are listed above in the “How to Make” section of the blog post.
Recommended Products
Nutrition Information
Disclaimers
As an Amazon Associate and member of other affiliate programs, I earn from qualifying purchases.
Nutrition Facts are estimated and aren’t always accurate. Please consult a doctor or nutritionist if you have special dietary needs.







Great flavor! Everybody loved it!
Thank you so much, Sherry!
I made this cake for my birthday, it was amazing! I used Bob’s Gluten Free flour because that’s what I had on hand. I used maple sugar for the cake and coconut sugar in the jam, it turned out great. I also did not use powdered sugar for the frosting, I made my own with maple sugar and cornstarch. It made the frosting slightly grainy but the taste was great. My blackberry jam didn’t come out as jammy, I needed to cook it longer but didn’t have the time so it was a little runny, but so delicious. My family and I loved this cake! Thank you!!
You’re very welcome, Emily! Glad you enjoyed it!
Made this cake for my family today and they absolutely loved it and couldn’t stop raving about it! It’s the perfect spring/summer cake and I’ve already been asked to make it again for the next gathering! The cake is so moist and lemony, the buttercream so flavorful, and the filling was the perfect amount of fresh tartness to balance out the sweetness! Will absolutely be making this again! Thank you for such incredible recipes!
Thanks so much, Julia!
I love love your website and recipes! Already a follower of your blog. Thank you for these recipes. I’m gluten sensitive and this is sooo helpful. Caio!
Thank you, Amba!