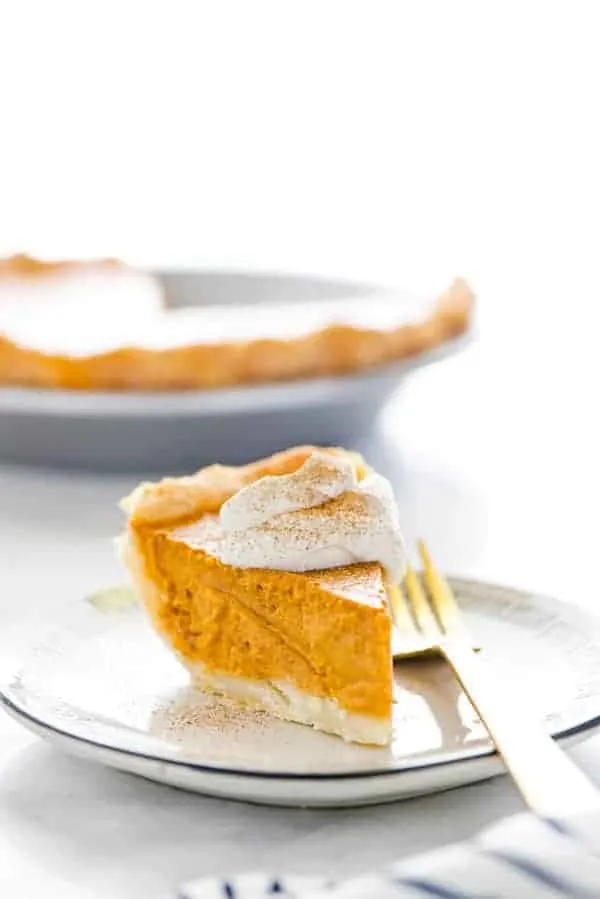
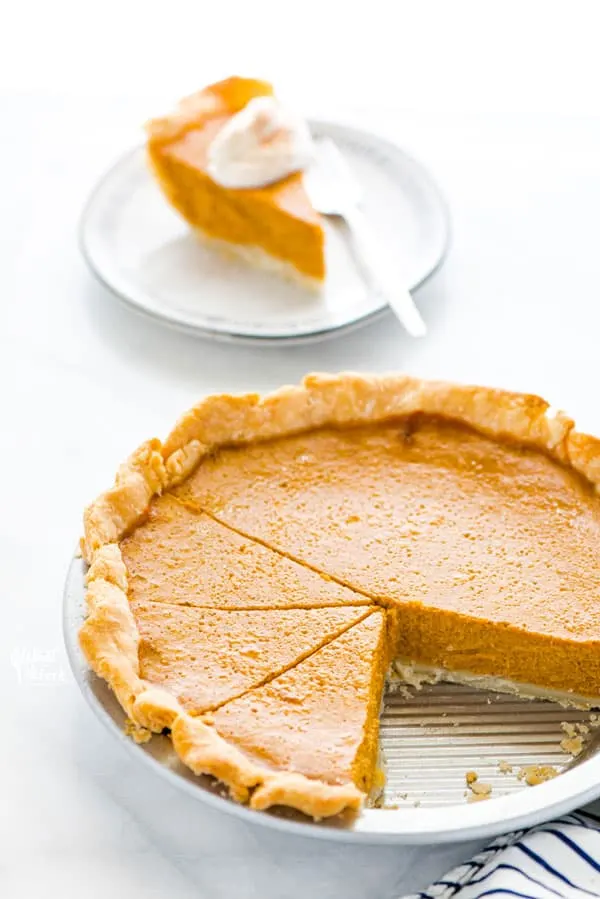
This is an easy recipe for Gluten Free Pumpkin Pie. Creamy filling, crisp pie crust, and warm spices make this pie perfect for dessert or a yummy treat.
This post contains affiliate links for products and ingredients I use and love. You can read my full disclosure here. Thank you for supporting What The Fork Food Blog so I can continue to provide you with free gluten free recipes ♥
Easy Gluten Free Pumpkin Pie Recipe
This is a classic recipe for a gluten free pumpkin pie. Nobody does pumpkin pie quite like Libby’s. They’re literally famous for it, thanks to their stellar recipe on every single one of their convenient cans of pumpkin puree.
I adjust the spices a bit to suit my tastes. I like a little less ginger and I like to add a little nutmeg. I am from the Nutmeg State after all!
I use my own recipe for the gluten free pie crust to make this pie. My recipe makes a double crust so you’ll have an extra crust left over for another pie or you can use the leftover pie crust to decorate your pie!
I prefer the decorations. They make the pie look super festive, they’re fun AND tasty to munch on, and you can use them to cover up any imperfections. Genius, right?!
There’s one major thing you can do to prevent cracks from forming in your gluten free pumpkin pie. Don’t over bake it!
Keep an eye on your baking time. All ovens bake slightly different, the temperature might be slightly off, your oven might drop to 350 from 425 faster than somebody else, etc.
Once you turn the temperature down from 425, the pie will take about 30-40 minutes. I set the timer on my oven and then I set a second timer for 20 minutes to take a peek at the pie. Then, I check it every 10 minutes until it’s done. When I peek, it’s only through the glass door of my oven, don’t actually open the oven to look until you’re close to the end time (unless of course your pie looks like it’s done and is browning too much).
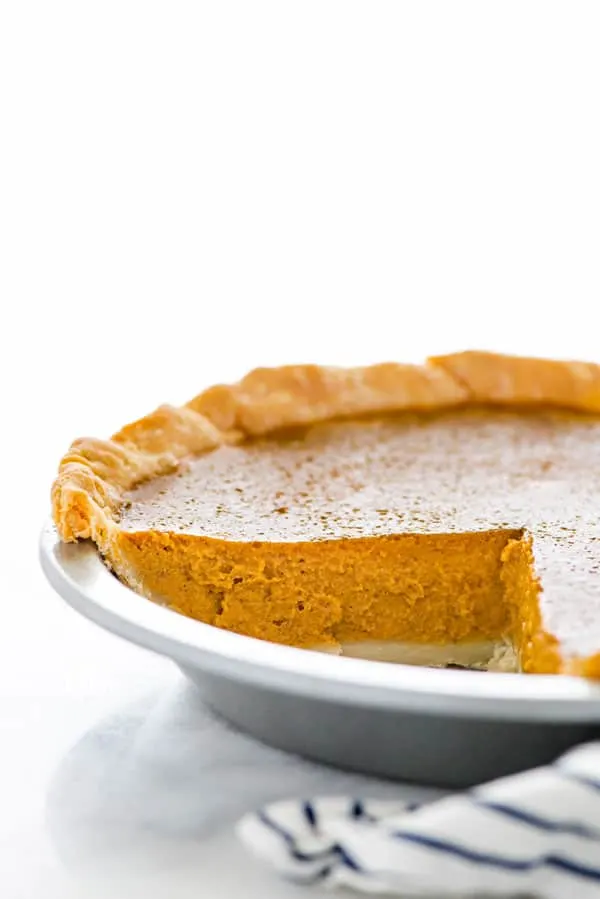
How do I know if my Pumpkin Pie is done?
When your pie is done, the edges will be set, the crust will be browned, and the middle 2 inches will still be slightly jiggly. It’ll wiggle a bit like Jello but it shouldn’t be soupy or sloshy – I’m very scientific with the explanations.
Do I have to adjust for high altitude baking?
Custard based pies like pumpkin pie may need to be baked longer if you’re at a high elevation. If you’re above 4000ft, you may want to try baking at 425 degrees for 20 minutes instead of 15.
What’s the best pie dish to use?
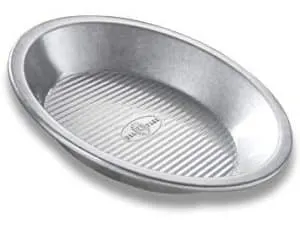
You can make this pie in a glass pie dish, stone wear, or metal. Just be sure yours isn’t a shallow dish and holds at least 4 cups.
Should I par-bake my pie crust?
I’ve done a lot of research on pumpkin pies and for this gluten free pumpkin pie, I decided not to par-bake my pie crust. However, if you’re on Team Par-Baked, just follow my instructions on How to Par-Bake Pie Crust here.
The Libby’s recipe doesn’t call for a par-baked crust and I opted not to do it because sometimes I like to be lazy and skip a step. Does it make the bottom of the crust a little less crisp?
Maybe. But I baked my pie in a metal pie plate which makes a nice crispy pie bottom. It’s one of those things that’s really up to the eater and the baker. Do whatever makes your pie hole happy. I mean whatever makes you happy.
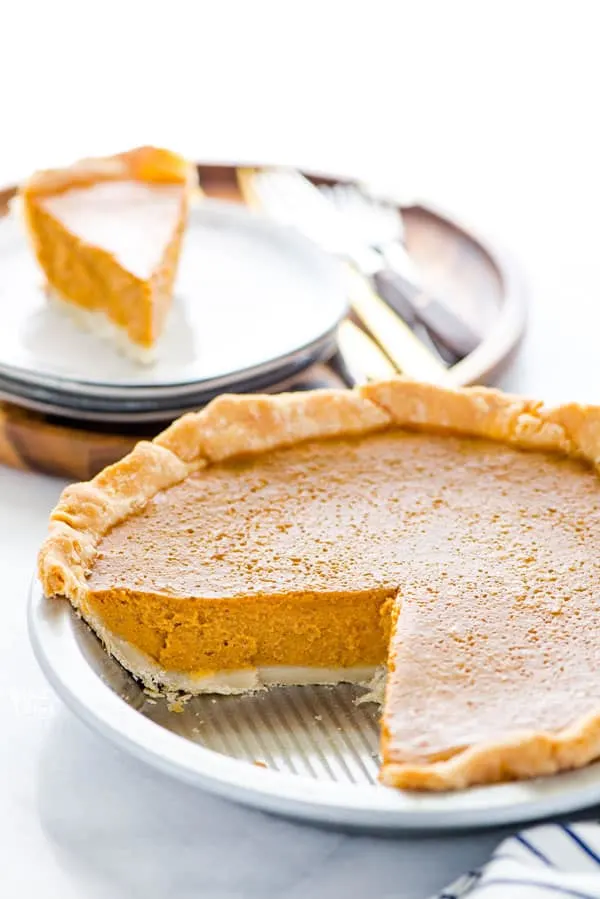
How do you bake a pumpkin pie with a smooth top?
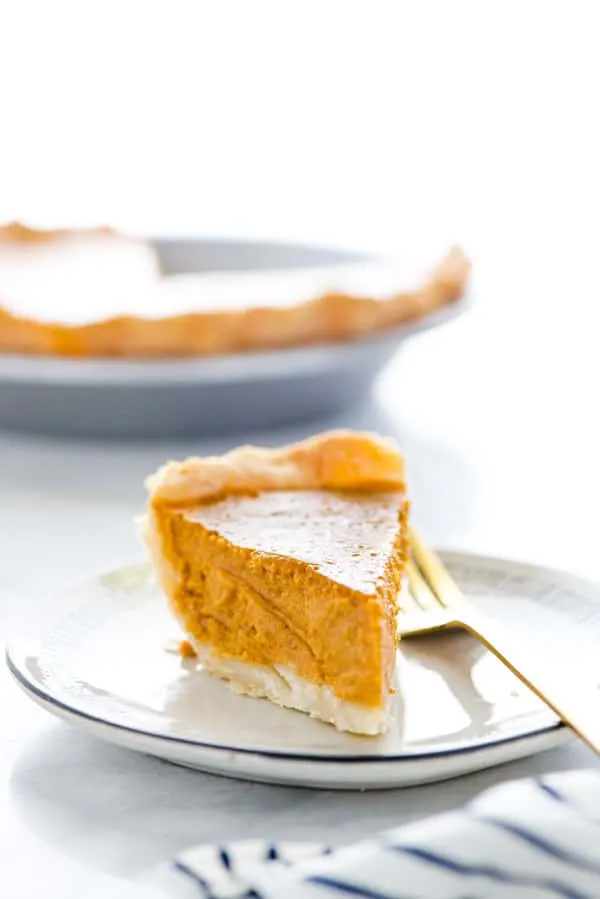
As you can see in my photos, the top of my pumpkin pie isn’t beautifully smooth. It’s got a bubbled look to it. That’s because I whisked my pumpkin pie filling just before pouring it into the crust and it was still foamy.
If you mix your filling up before hand and let it sit until it’s no longer foamy and there aren’t any bubbles on top before pouring it into the crust, you’ll have a nice smooth top on your pumpkin pie.
Slowing down pays off in the end, I was just in too much of a rush! A smooth top vs. a not so pretty top doesn’t affect the taste at all.
As an Amazon Associate I earn from qualifying purchases.
How Can I Make This a Gluten Free Dairy Free Pumpkin Pie?
Easy! Follow the directions in my gluten free pie crust recipe to make the crust dairy free. Then for the filling, use a a dairy free milk replacement for the evaporated milk. You can make this pumpkin pie with coconut milk or you could make this pie with almond milk – your choice! Luckily these days, there are so many dairy free options available.
Carnation makes an “Almond Cooking Milk” which could be used in this recipe. Even though it’s 11 oz. instead of 12, it will work just fine! I prefer baking with coconut milk so I have been making my pumpkin pie filling with evaporated coconut milk.
Carnation also makes a Lactose Free Evaporated Milk. I’ve tried it and I love it! Again, it’s only 11 oz. but it works well in this recipe, no need to add an additional ounce of liquid to the filling. I find it at my regular grocery store right in the baking section with the other evaporated milk.
How to Make Gluten Free Pumpkin Pie
Step 1. Preheat oven to 425 degrees.
Step 2. Roll out the already prepared pie crust and place in a 9-inch pie plate. Place in the refrigerator while you prepare the filling.
Step 3. In a medium bowl, whisk together the pumpkin puree, eggs, granulated sugar, light brown sugar, cinnamon, ginger, cloves, nutmeg, and salt. Whisk in the evaporated milk until incorporated.
Step 4. Pour the filling into the cold crust and bake on the center rack for 15 minutes.
Step 5. After 15 minutes, reduce the oven temperature to 350 degrees.
Step 6. Bake at 350 degrees for 30-50 minutes. The pie is done when the edges are set and the middle 2 inches of the pie is still slightly jiggly.
Step 7. Cool on a wire rack for 2 hours then serve or refrigerate until ready to serve.
Step 8. Serve with homemade whipped cream.
Tips for Making Pumpkin Pie
- Use canned pumpkin purée. Using a homemade pumpkin puree might have too much or too little moisture for this recipe making it either too dry or too runny. Homemade pumpkin puree also tends to have some stringy pumpkin pieces mixed in – nobody wants that in their piece!
- Don’t use pumpkin pie filling. Double check your cans and make sure they say pumpkin purée and not pumpkin pie filling.
- Use a classic flaky pie crust. If you don’t need to use my gluten free pie crust, that’s fine! Use your favorite pie crust here as long as it’s a traditional, flaky crust.
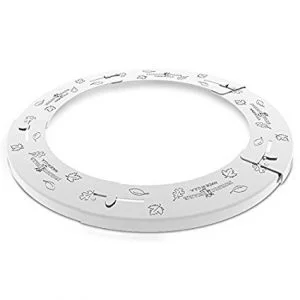
- Use a pie shield during the baking process. Pumpkin Pie has to bake for a decent amount of time so use that pie shield to prevent your crust from burning!
- Don’t over-bake your pie. An over-baked pumpkin pie will crack and look really unappealing. When done, the pie will be set except the middle two inches will still be slightly jiggly. That’s ok! It will continue to firm up as it cools.
- Allow enough time for the pie to cool before slicing. Pumpkin Pie needs to cool for at least two hours before serving. Pro tip – make this pie the night before so you don’t have to worry about it on the big day!
Other Gluten Free Pie Recipes to Try
Be sure to follow me on Instagram and hashtag #whattheforkfoodblog or tag @whattheforkfoodblog – I love seeing what you make!
If you love this Gluten Free Pumpkin Pie recipe, be sure to follow me on social media so you never miss a post:
| Facebook | Twitter | Pinterest | Instagram | Youtube | Newsletter |
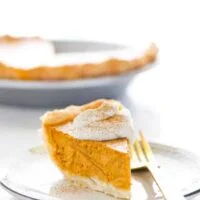
Gluten Free Pumpkin Pie Recipe
Ingredients
- 1 9- inch gluten free pie crust
- 15 oz. pumpkin puree 1 can
- 2 large eggs room temperature
- ½ cup granulated sugar 101g
- ¼ cup light brown sugar packed (58 g)
- 1 teaspoon ground cinnamon 2 g
- ¼ teaspoon ground ginger
- 1/8 teaspoon ground cloves
- ¼ teaspoon ground nutmeg
- ½ teaspoon fine sea salt
- 12 oz. evaporated milk see notes
Instructions
- Preheat oven to 425 degrees.
- Roll out the already prepared pie crust and place in a 9-inch pie plate. Place in the refrigerator while you prepare the filling.
- In a medium bowl, whisk together the pumpkin puree, eggs, granulated sugar, light brown sugar, cinnamon, ginger, cloves, nutmeg, and salt. Whisk in the evaporated milk until incorporated.
- Pour the filling into the cold crust and bake on the center rack for 15 minutes.
- After 15 minutes, reduce the oven temperature to 350 degrees.
- Bake at 350 degrees for 30-50 minutes. The pie is done when the edges are set and the middle 2 inches of the pie is still slightly jiggly.
- Cool on a wire rack for 2 hours then serve or refrigerate until ready to serve.
- Serve with homemade whipped cream.
Notes
- Prep time does not include making/chilling the pie crust.
- 11 oz. of lactose free evaporated milk can be subbed for the 12 oz. of regular evaporated milk.
- For Dairy Free, make my pie crust with the dairy free/vegan option and use Nature’s Charm Evaporated Coconut Milk.
Recommended Products
Nutrition Information
Disclaimers
As an Amazon Associate and member of other affiliate programs, I earn from qualifying purchases.
Nutrition Facts are estimated and aren't always accurate. Please consult a doctor or nutritionist if you have special dietary needs.
I developed this recipe and first published it on my website What the Fork Food Blog; this Gluten Free Pumpkin Pie can also be found on Food Fanatic.
Did you make this recipe? Leave a star rating and let me know in the comments! You can also leave a photo/comment on this pin for others to see.







Can you substitute pumpkin pie spice for all of the spices? And if so how much?
Hi Kelly! Yes, you can use Pumpkin Pie Spice. I would use 1 1/2 – 1 3/4 teaspoon.
This is my go to pie for Thanksgiving! I forgot my recipe print out at home and spent about an hour looking for this! I almost gave up. Glad I didn’t 🙂
Thanks Mike! So glad you enjoy it so much, that’s dedication!
Can the pumpkin pie filling be made with an egg substitute?
I haven’t tried it so I can’t tell you for sure.